Board Games

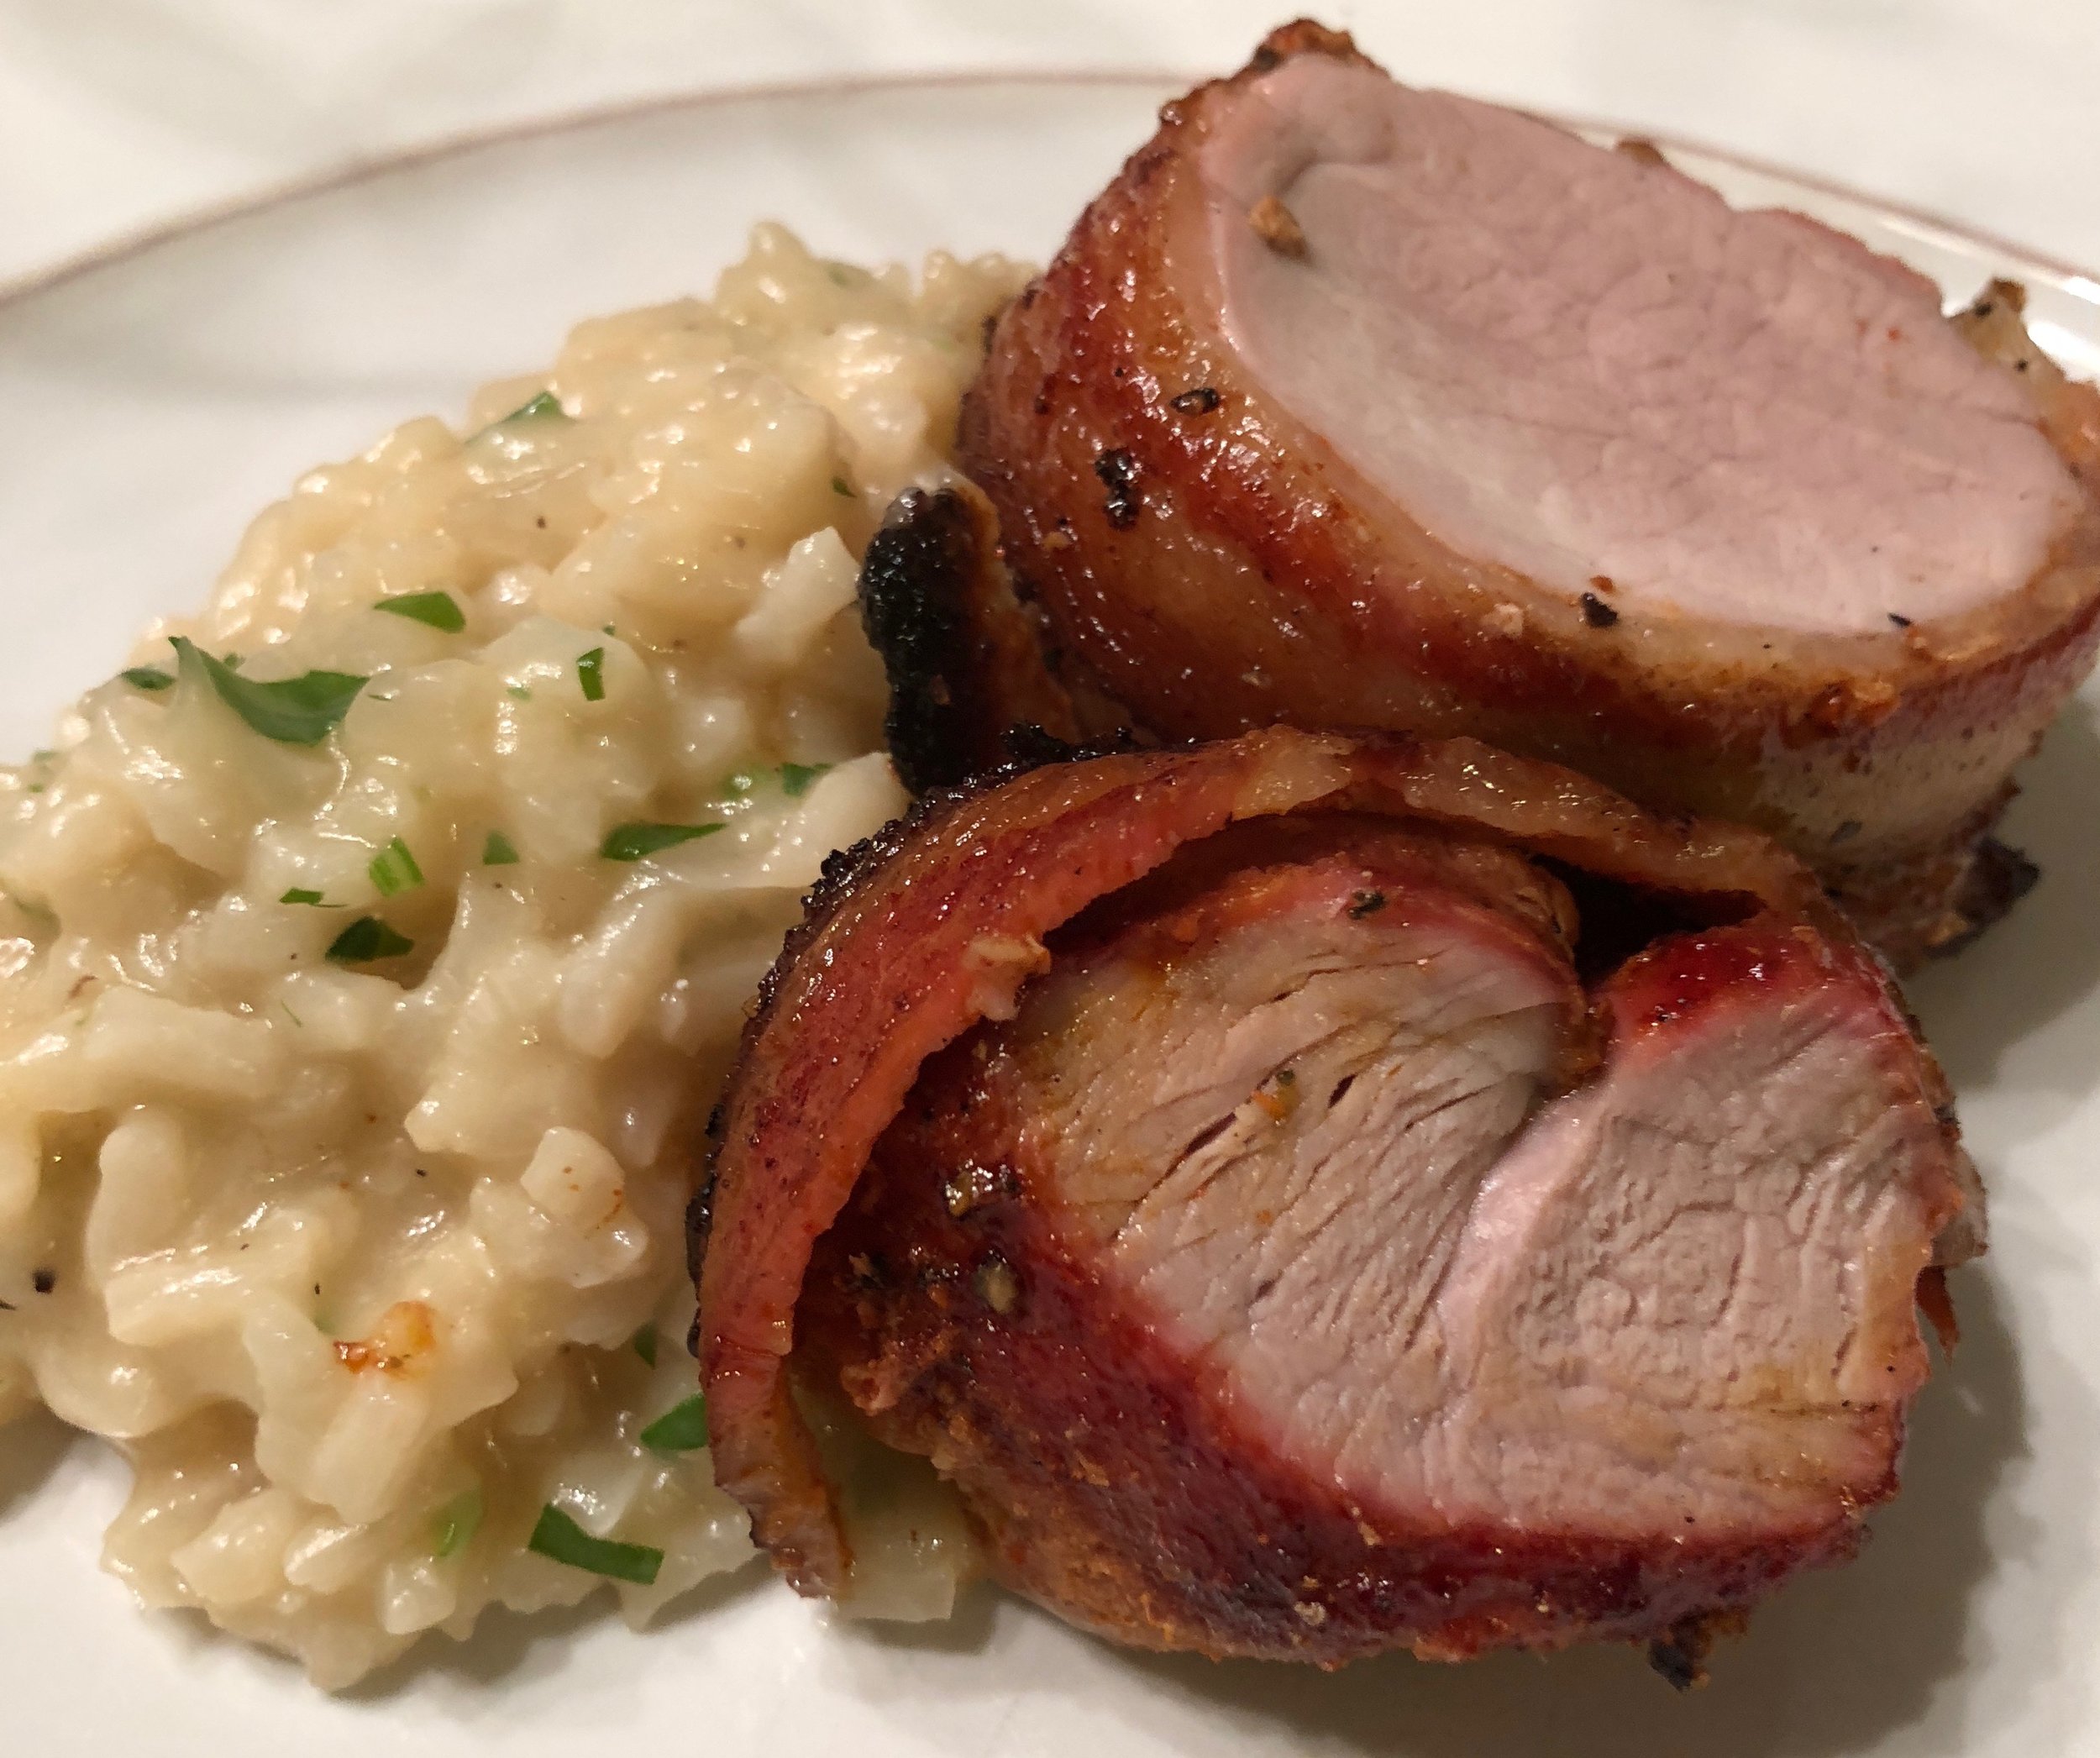
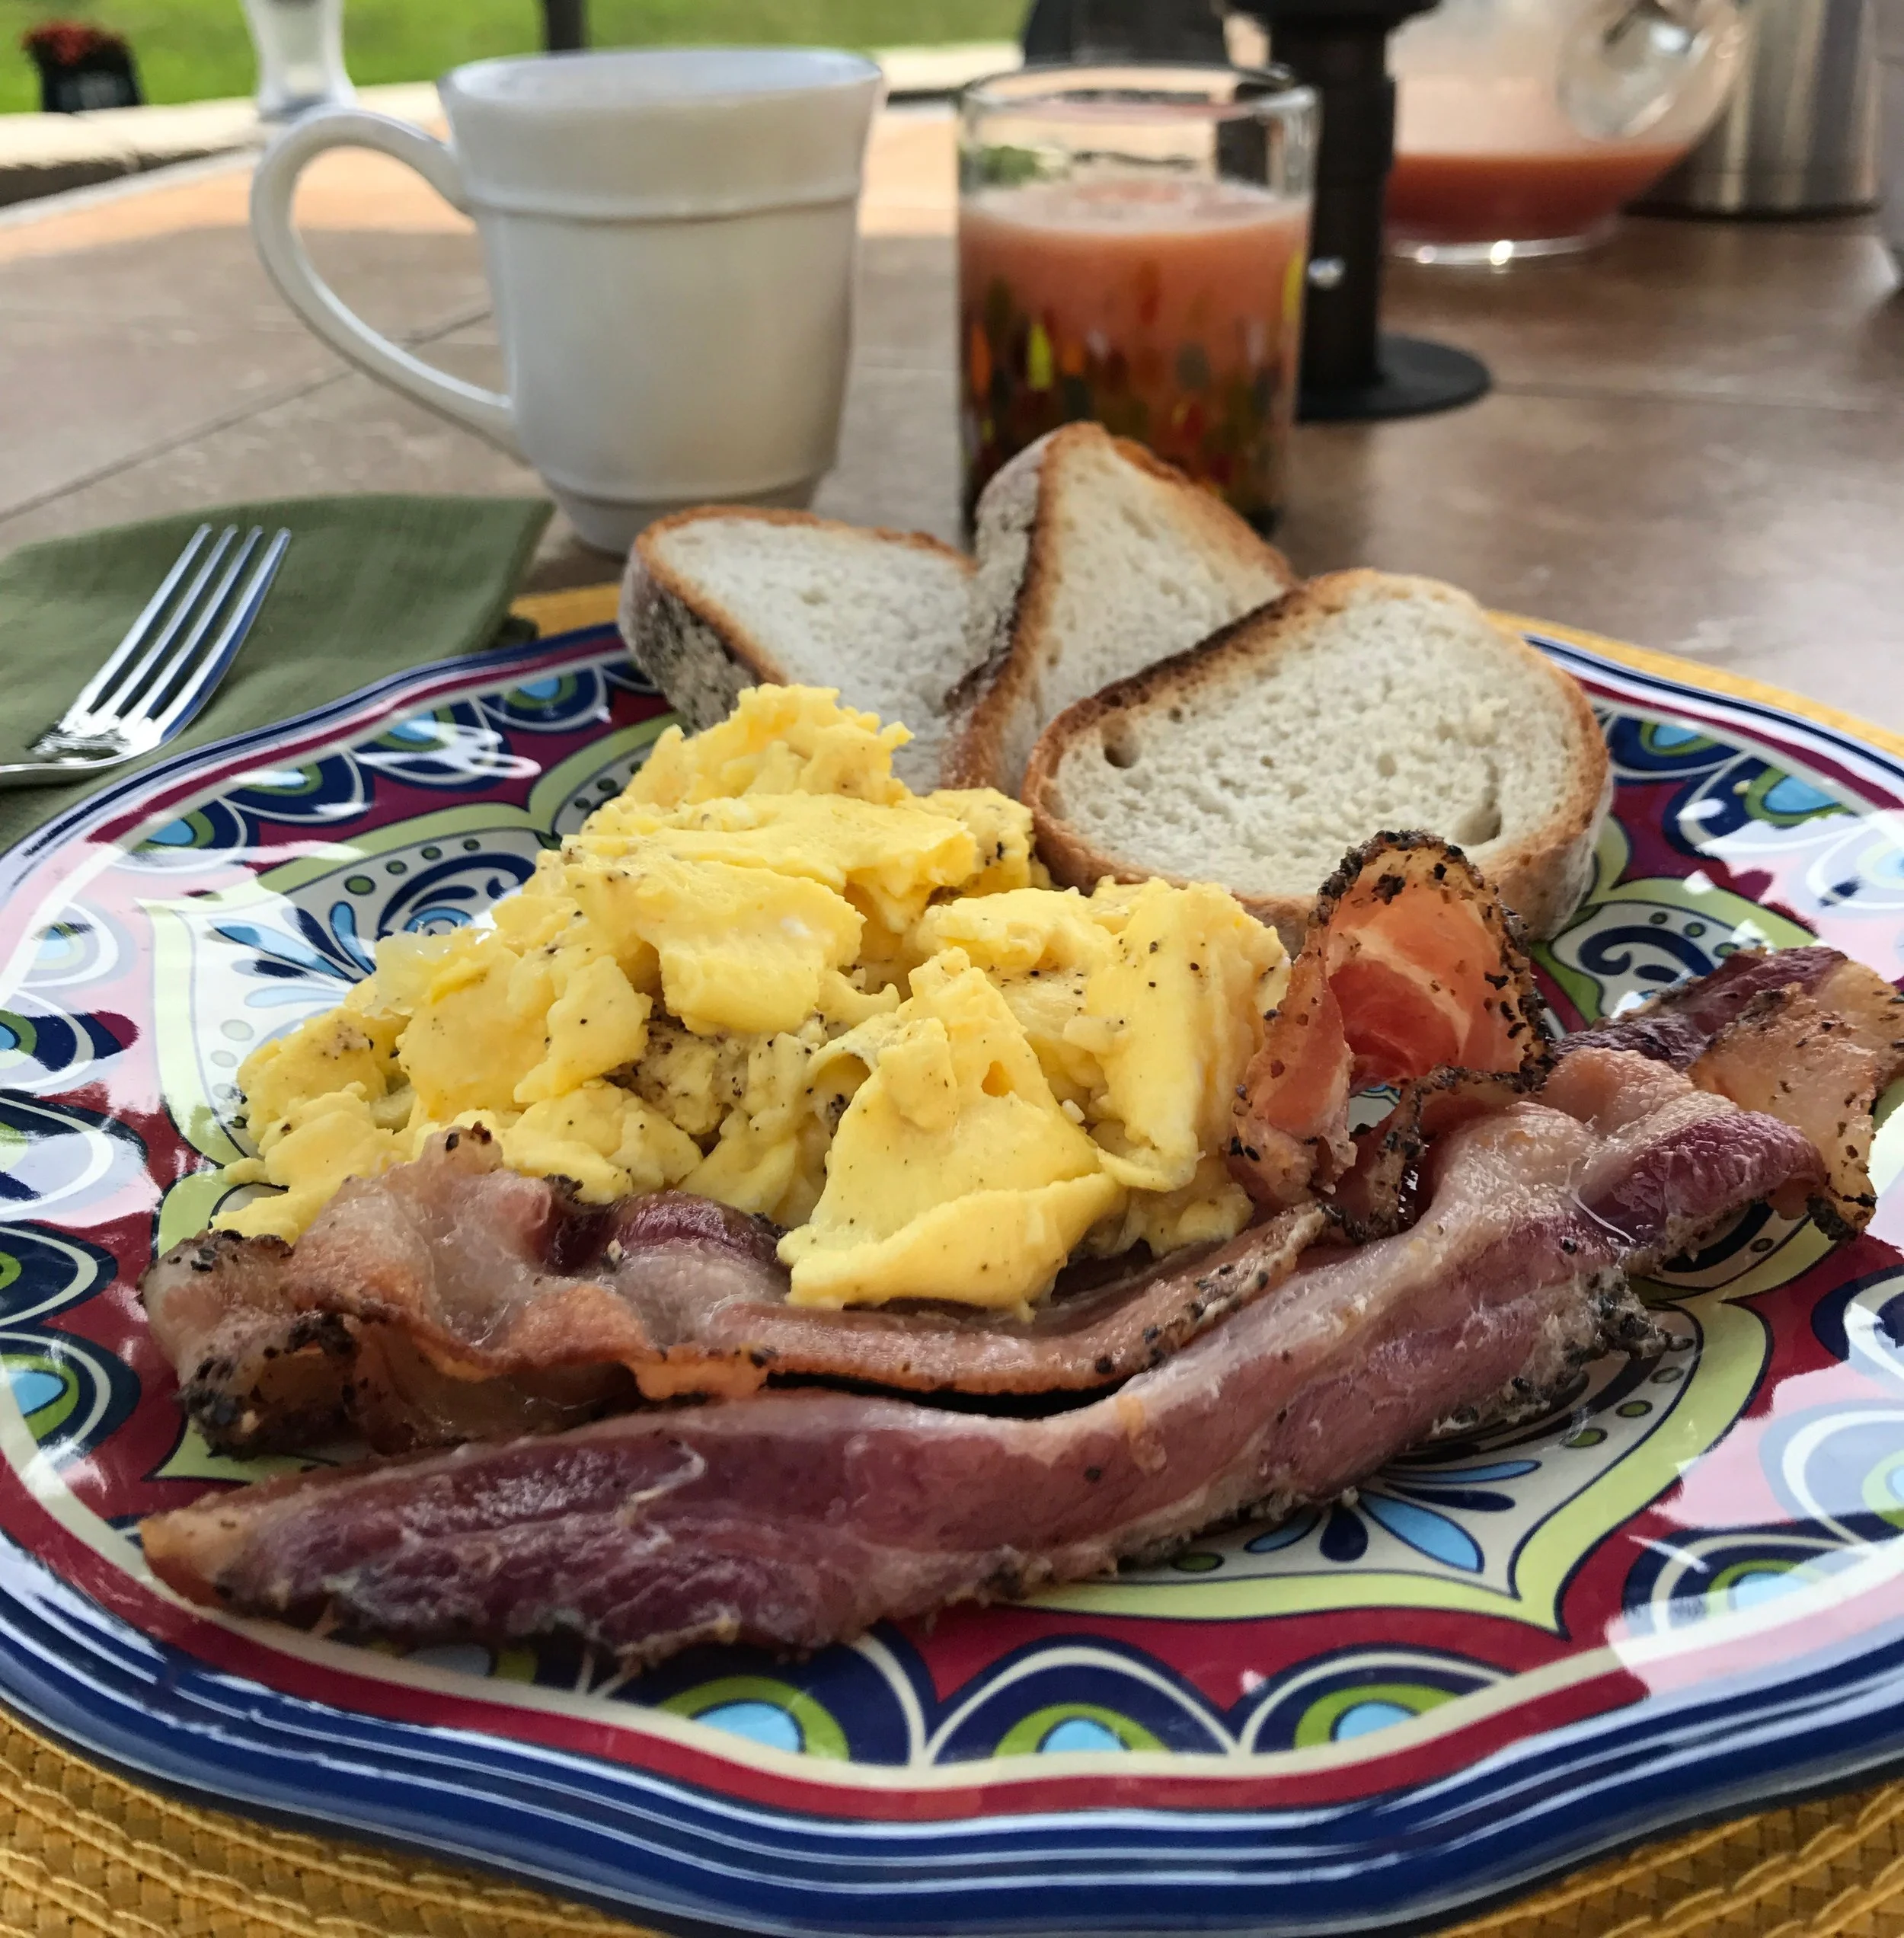
One of my favorite things to eat is a board filled with cured meats, cheeses, and some ripe fruit. For my Italian friends, we call this Antipasto, but to most this is known as Charcuterie. Regardless of which term you prefer to use, this makes a great appetizer, lunch or sometimes, even dinner for me and my family. What I love about making a board is that no matter what you choose to add, you can always make something that is delicious and beautiful. Boards are meant to be a simple and fun way to serve delicious food, so worry less about making it perfect and focus on what you love, or in a pinch, what you have!

IMG_7893 2.jpeg

Boards! Boards! Boards!

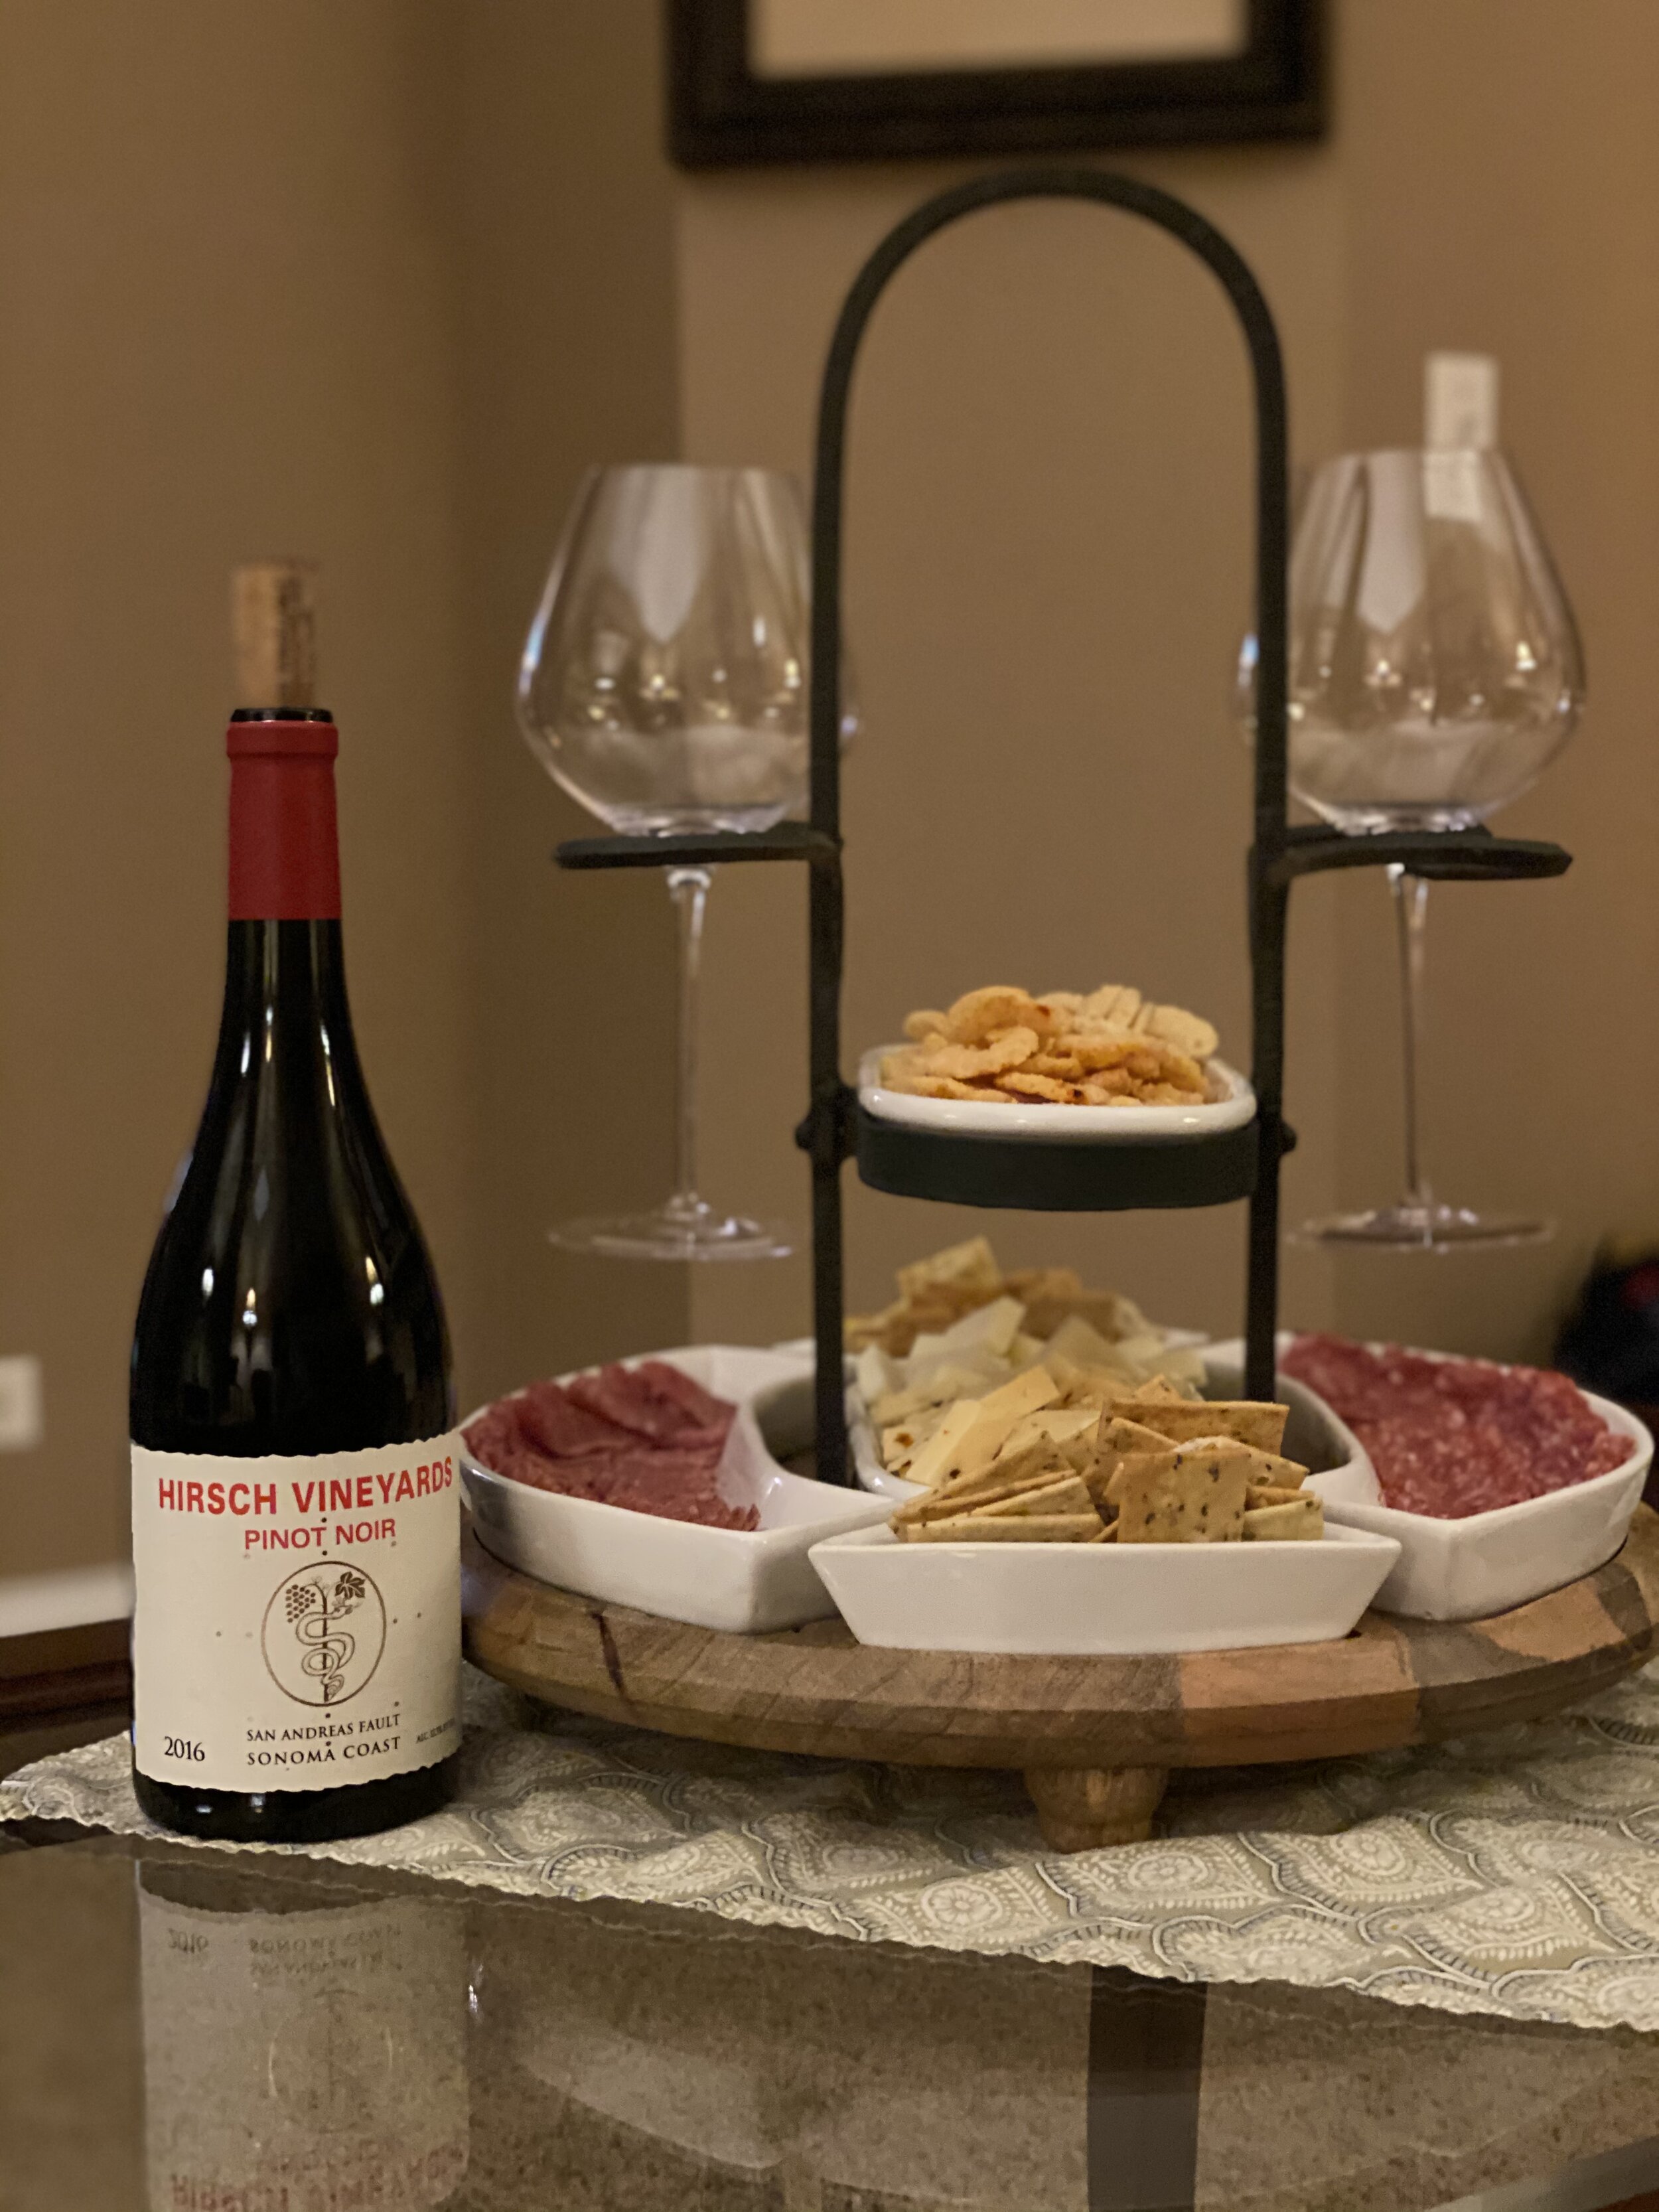
They say the first step in recovery is admitting you have a problem and I am truly a board addict! The picture does not do my collection justice, but I think you get the picture!

The truth is, use what you have. Creating an attractive (and delicious) board is an art, not a science. You can use one board or if your boards are small, use multiples and let each one have it’s own theme. Don’t have a board? Use a platter or even a decorative plate. Add some decorative bowls, mason jars, or glasses to add some height and hold veggies, dips, breadsticks or whatever your heart desires. The key is to have fun and make it your own!

Eat What You Love

Pretty doesn’t mean tasty, so your boards should be about what you love to eat, not just what looks good together. My Italian soul can’t live without cured meats, cheeses, and some form of bread, but my gut would prefer that my boards are more vegetable forward.

For my fellow cured meat and cheese aficionados, my recommendation is to always buy the best meat and cheese you can afford. You will always see Volpi Genoa Salami on my plates along with a mild soppressata. Sometimes prosciutto will make an appearance, but I’m a bigger fan of good Spanish Serrano Ham. Angelo Caputo’s Fresh Market is a great source for these meats, but my favorite Italian store for cured meats and honestly, any Italian food, is Freddy’s Pizzeria in Cicero, Illinois. Freddy’s makes a homemade soppressetta that you will dream about. While you are there, pick up some salami salad (literally salami in oil), a loaf of pepperoni bread, and some homemade gelato or Italian Ice. BTW…the Frutti di Bosco gelato and the half and half cantaloupe and chocolate Italian Ice are my favorites! Regardless of what you buy there, I guarantee you won't make it home without sampling everything in the car!

Imported Parmaggiano Reggino and whole milk mozzarella typically make their way to most of my boards, but I also like to spice things up with Whole Food’s Three Chili Gouda or Sicilian Jack Cheese. I love the combination of salty meats with these spicy, creamy cheeses. Fontinella cheese is also one of my favorites. It’s hard to describe, but imagine a creamier version of Parmaggiano Reggiano and that would be a good start! Caputos, Freddy’s, and Whole Foods have great cheeses available, but when you can, try The Cheese People. If you live in the Fox Valley area, you can find them on Saturday mornings at the Aurora Farmer’s Market. They always bring an amazing selection of cheeses and sometimes, you can even get a sample! The goat cheese gouda is SO creamy, but I’m seriously in love with their selection of Bleu Cheese and Gorgonzola.

I also have discovered some tasty meat and cheese options at one of my all time favorite stores, Stonehouse Market in downtown Oswego, Illinois. They sell a great selection of Jocelyn & Co.’s charcuterie line including a fantastic Jalapeño Monterey Jack cheese which you can pair with their yummy smoked Summer Sausage! The pay-off? You get to shop all of their amazing curated home decor (my house is their second show room) or for you do it yourselfers, you can purchase their Fusion Mineral Paint and products.

Other Accoutrements

IMG_7004.jpeg

I guess there are other things in life besides cured meats and cheese, right? Let’s start with bread. Buy your favorite and slice it small and thin or sprinkle it with olive oil, kosher salt, and black pepper and bake it in the oven for about 5 minutes at 400 degrees to make your own crostini. Add some pita, crackers, and breadsticks as alternative options. Some of my favorites are Jocelyn & Co.’s Tomato and Oregano Breadsticks (available at Stonehouse Market), Alessi’s Grissini Torinesi, or Town House Sea Salt & Olive Oil Crisps.

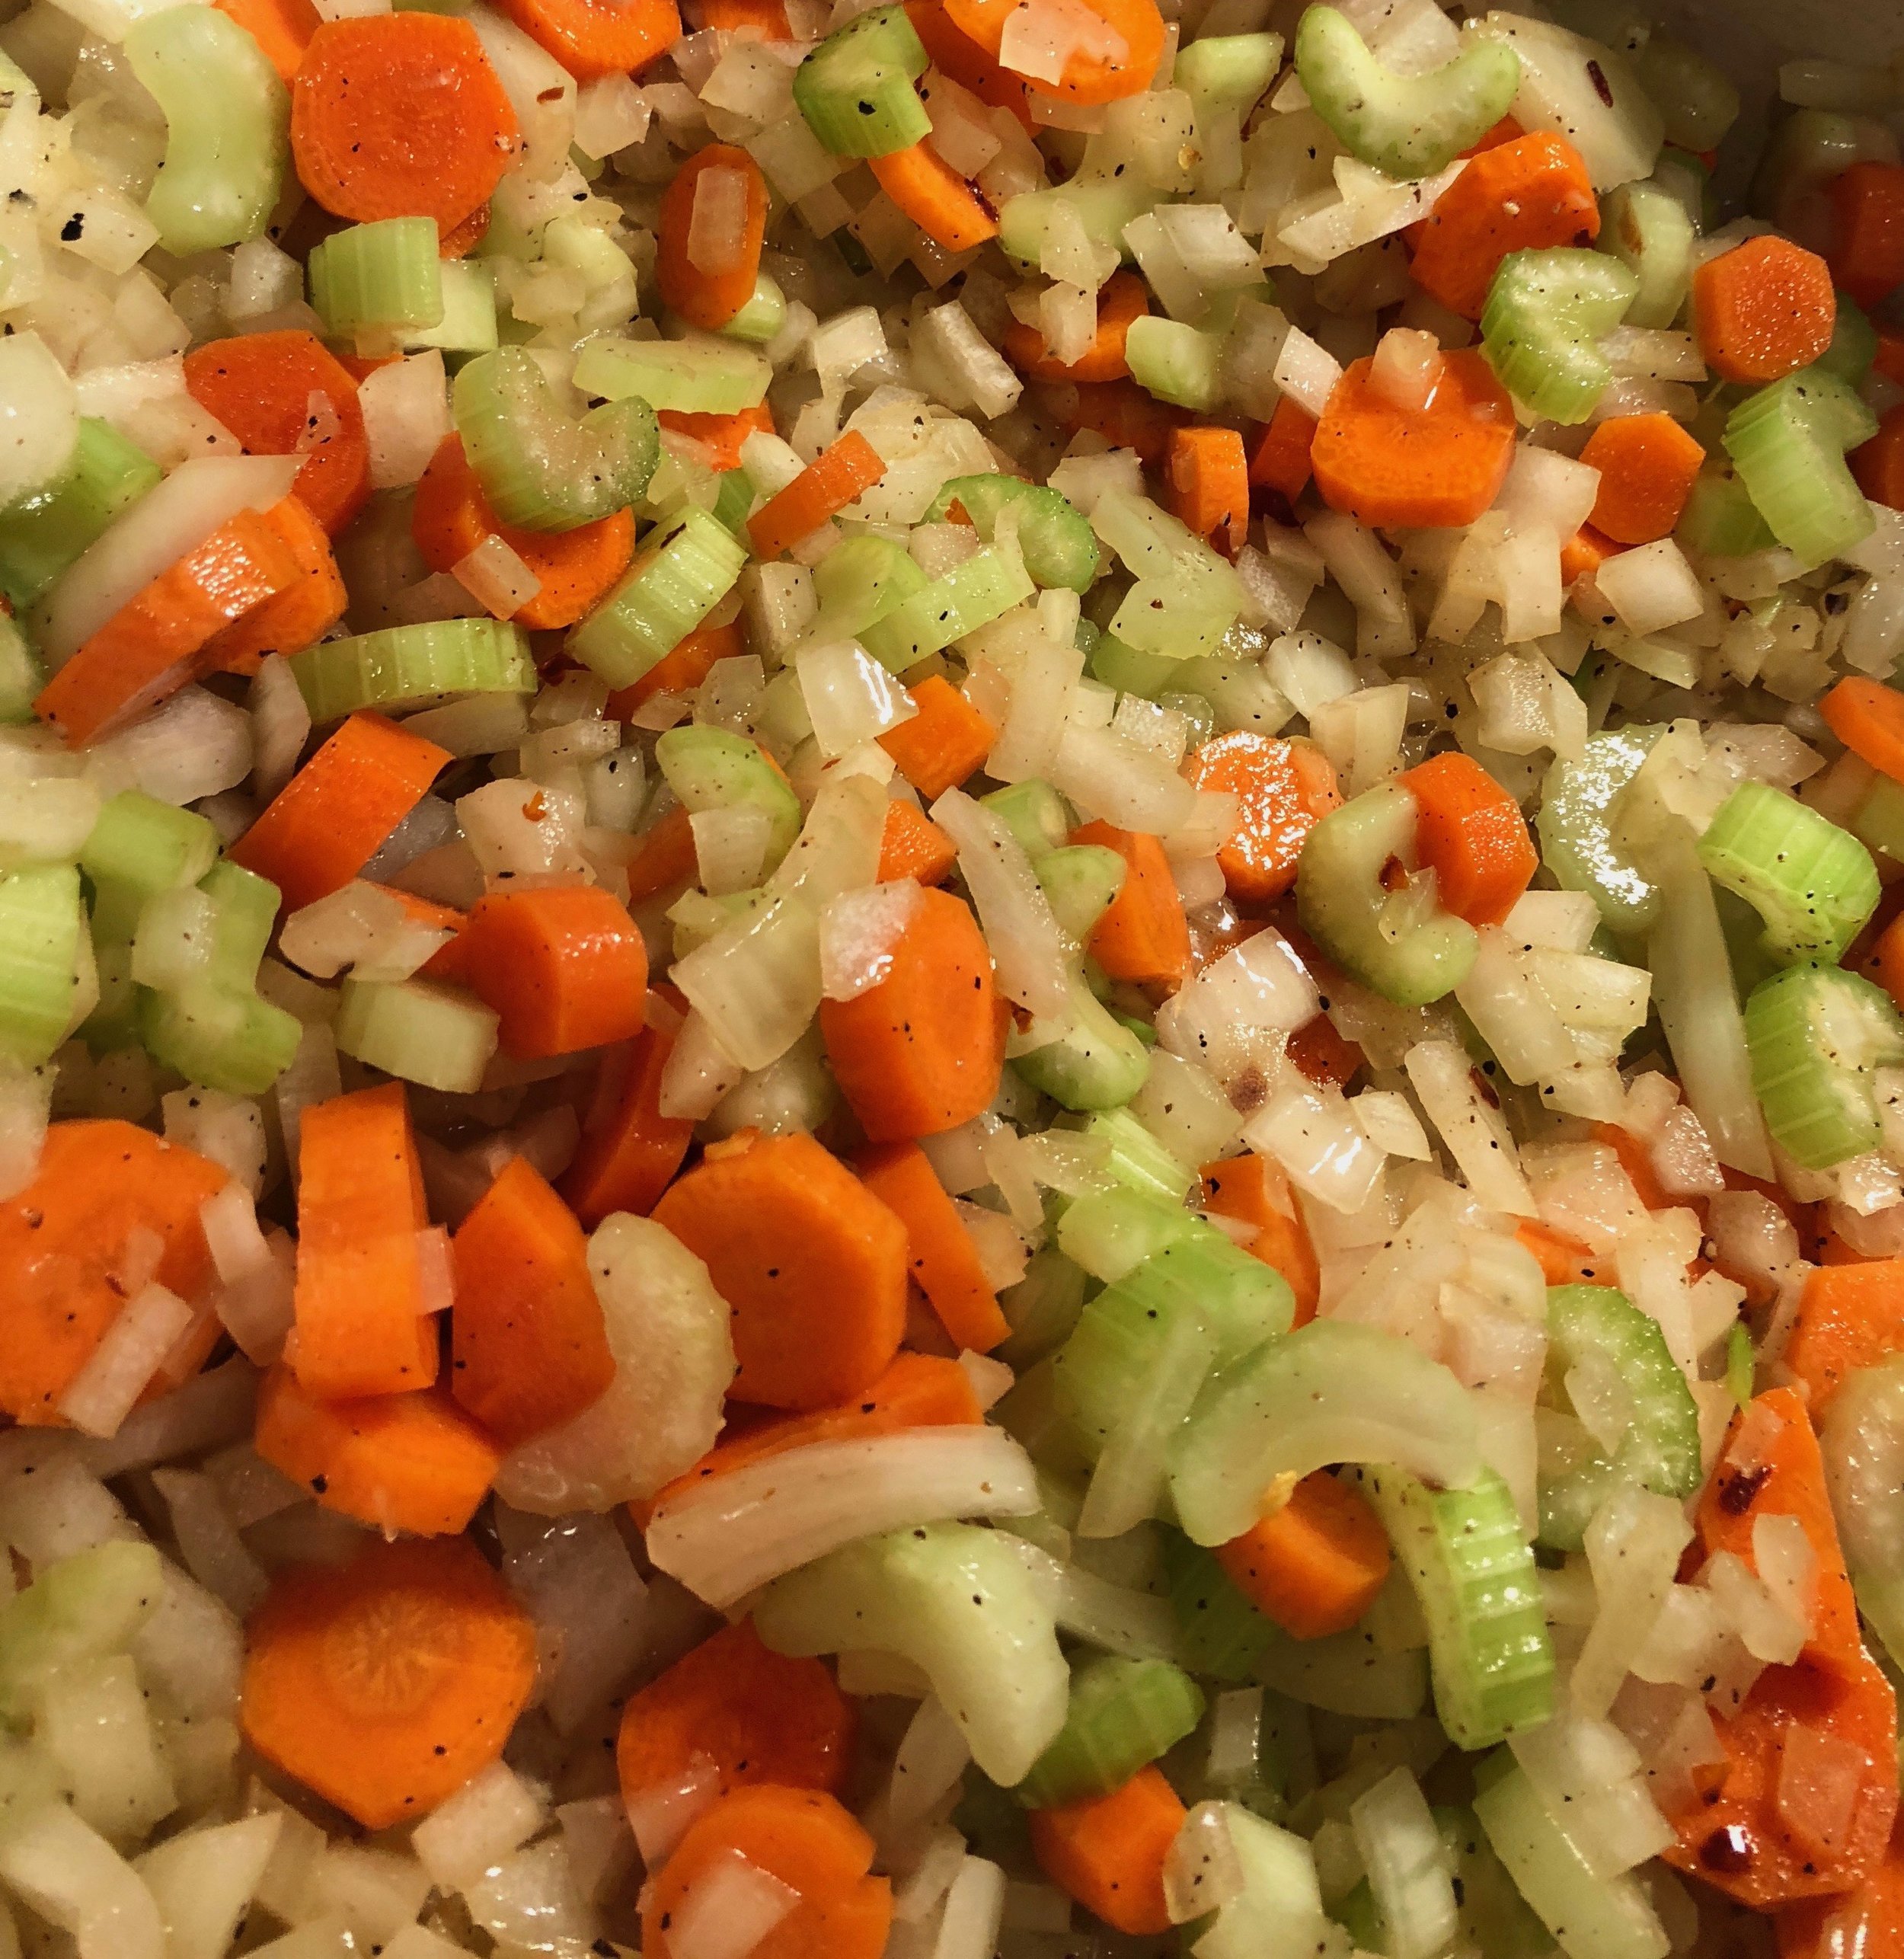
Any kind of veggie or fruit is also a nice addition to your board. I love to add a nice bowl of fresh bruschetta, some roasted red peppers, radishes, grape tomatoes, pears, apples, and peaches. Dried fruit including apricots, cherries, and cranberries are always a nice addition and bring a different texture and tartness to the mix. Add some briny, stuffed olives and your board is complete!

The last thing I like to add is some sort of dip or spread. Pesto, a spicy flavored hummus, a grainy mustard, or local honey are great options. I also love spreading a crostini with Divina’s Orange Fig Spread or Jocelyn & Co.’s Peach Bourbon Jam and then topping that with a slice of Serrano Ham and some creamy Bleu Cheese. That is my all-time favorite bite!

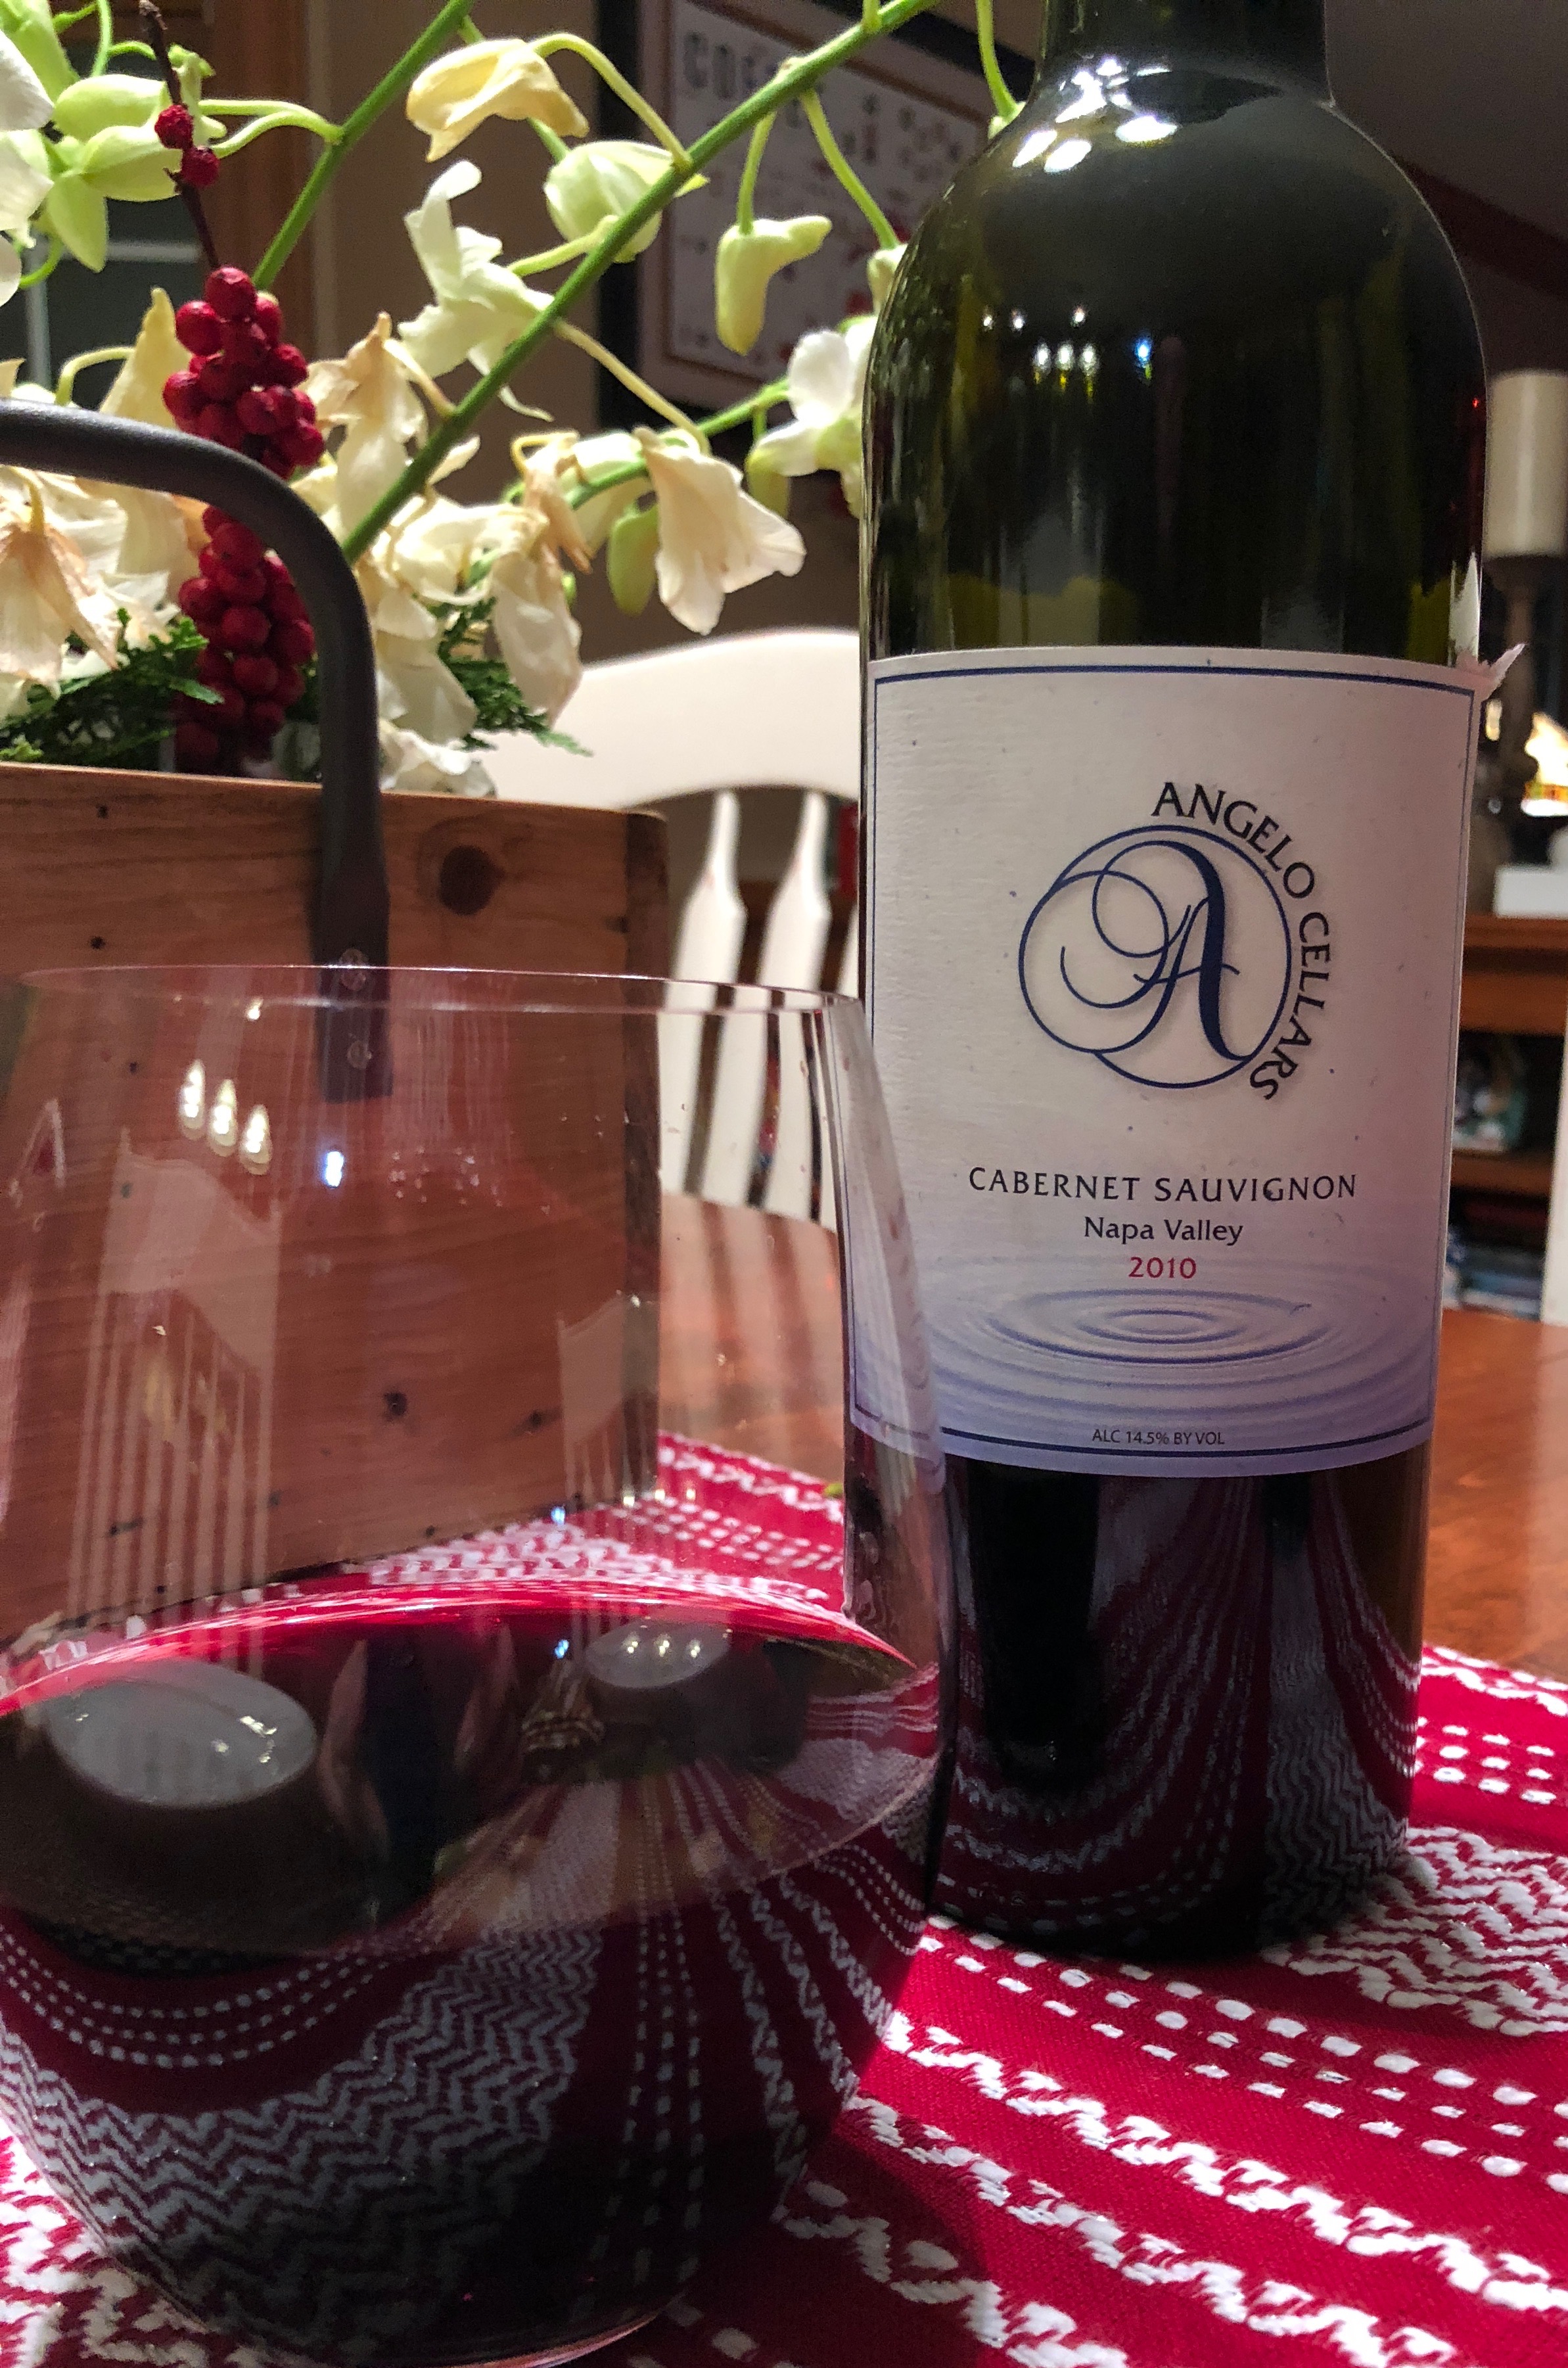
Don’t Forget the Wine

I never do! The perfect wine is the whatever you enjoy most! For me, it tends to be a Cabernet Sauvignon like Juggernaut Hillside or Frank Family, but I also enjoy an Italian Barbera like Pio Cesare Barbera d’Alba.

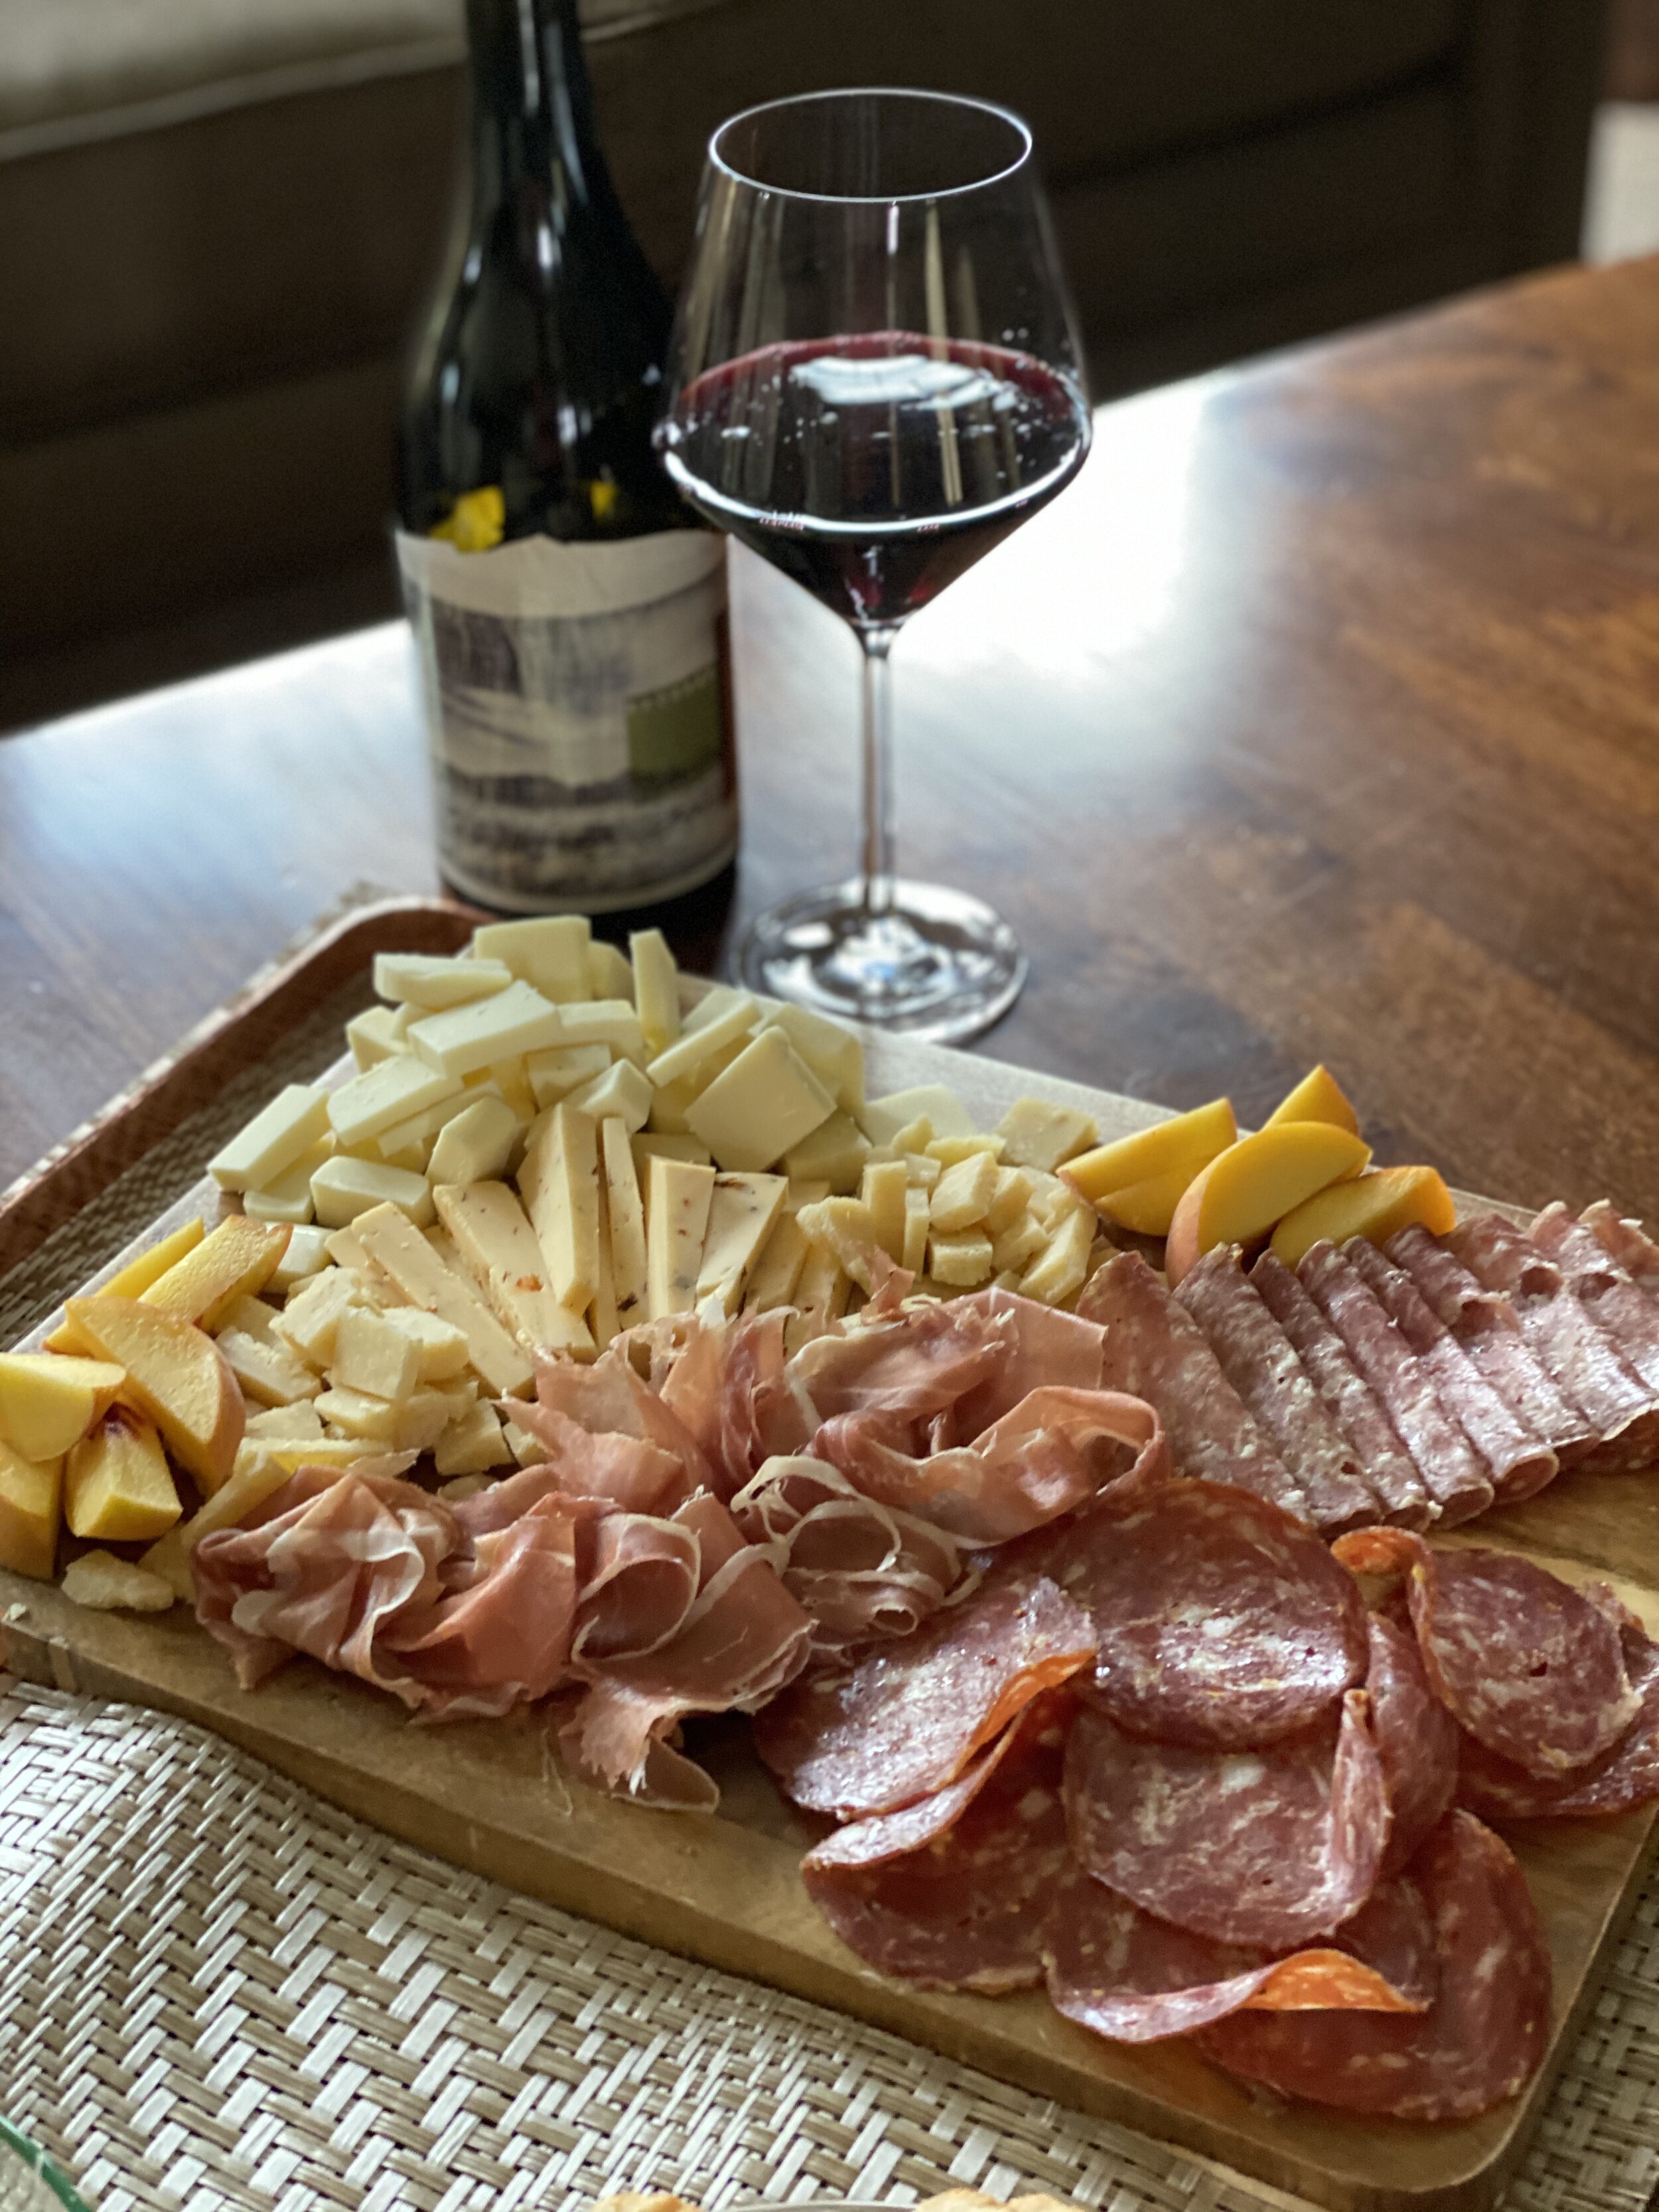
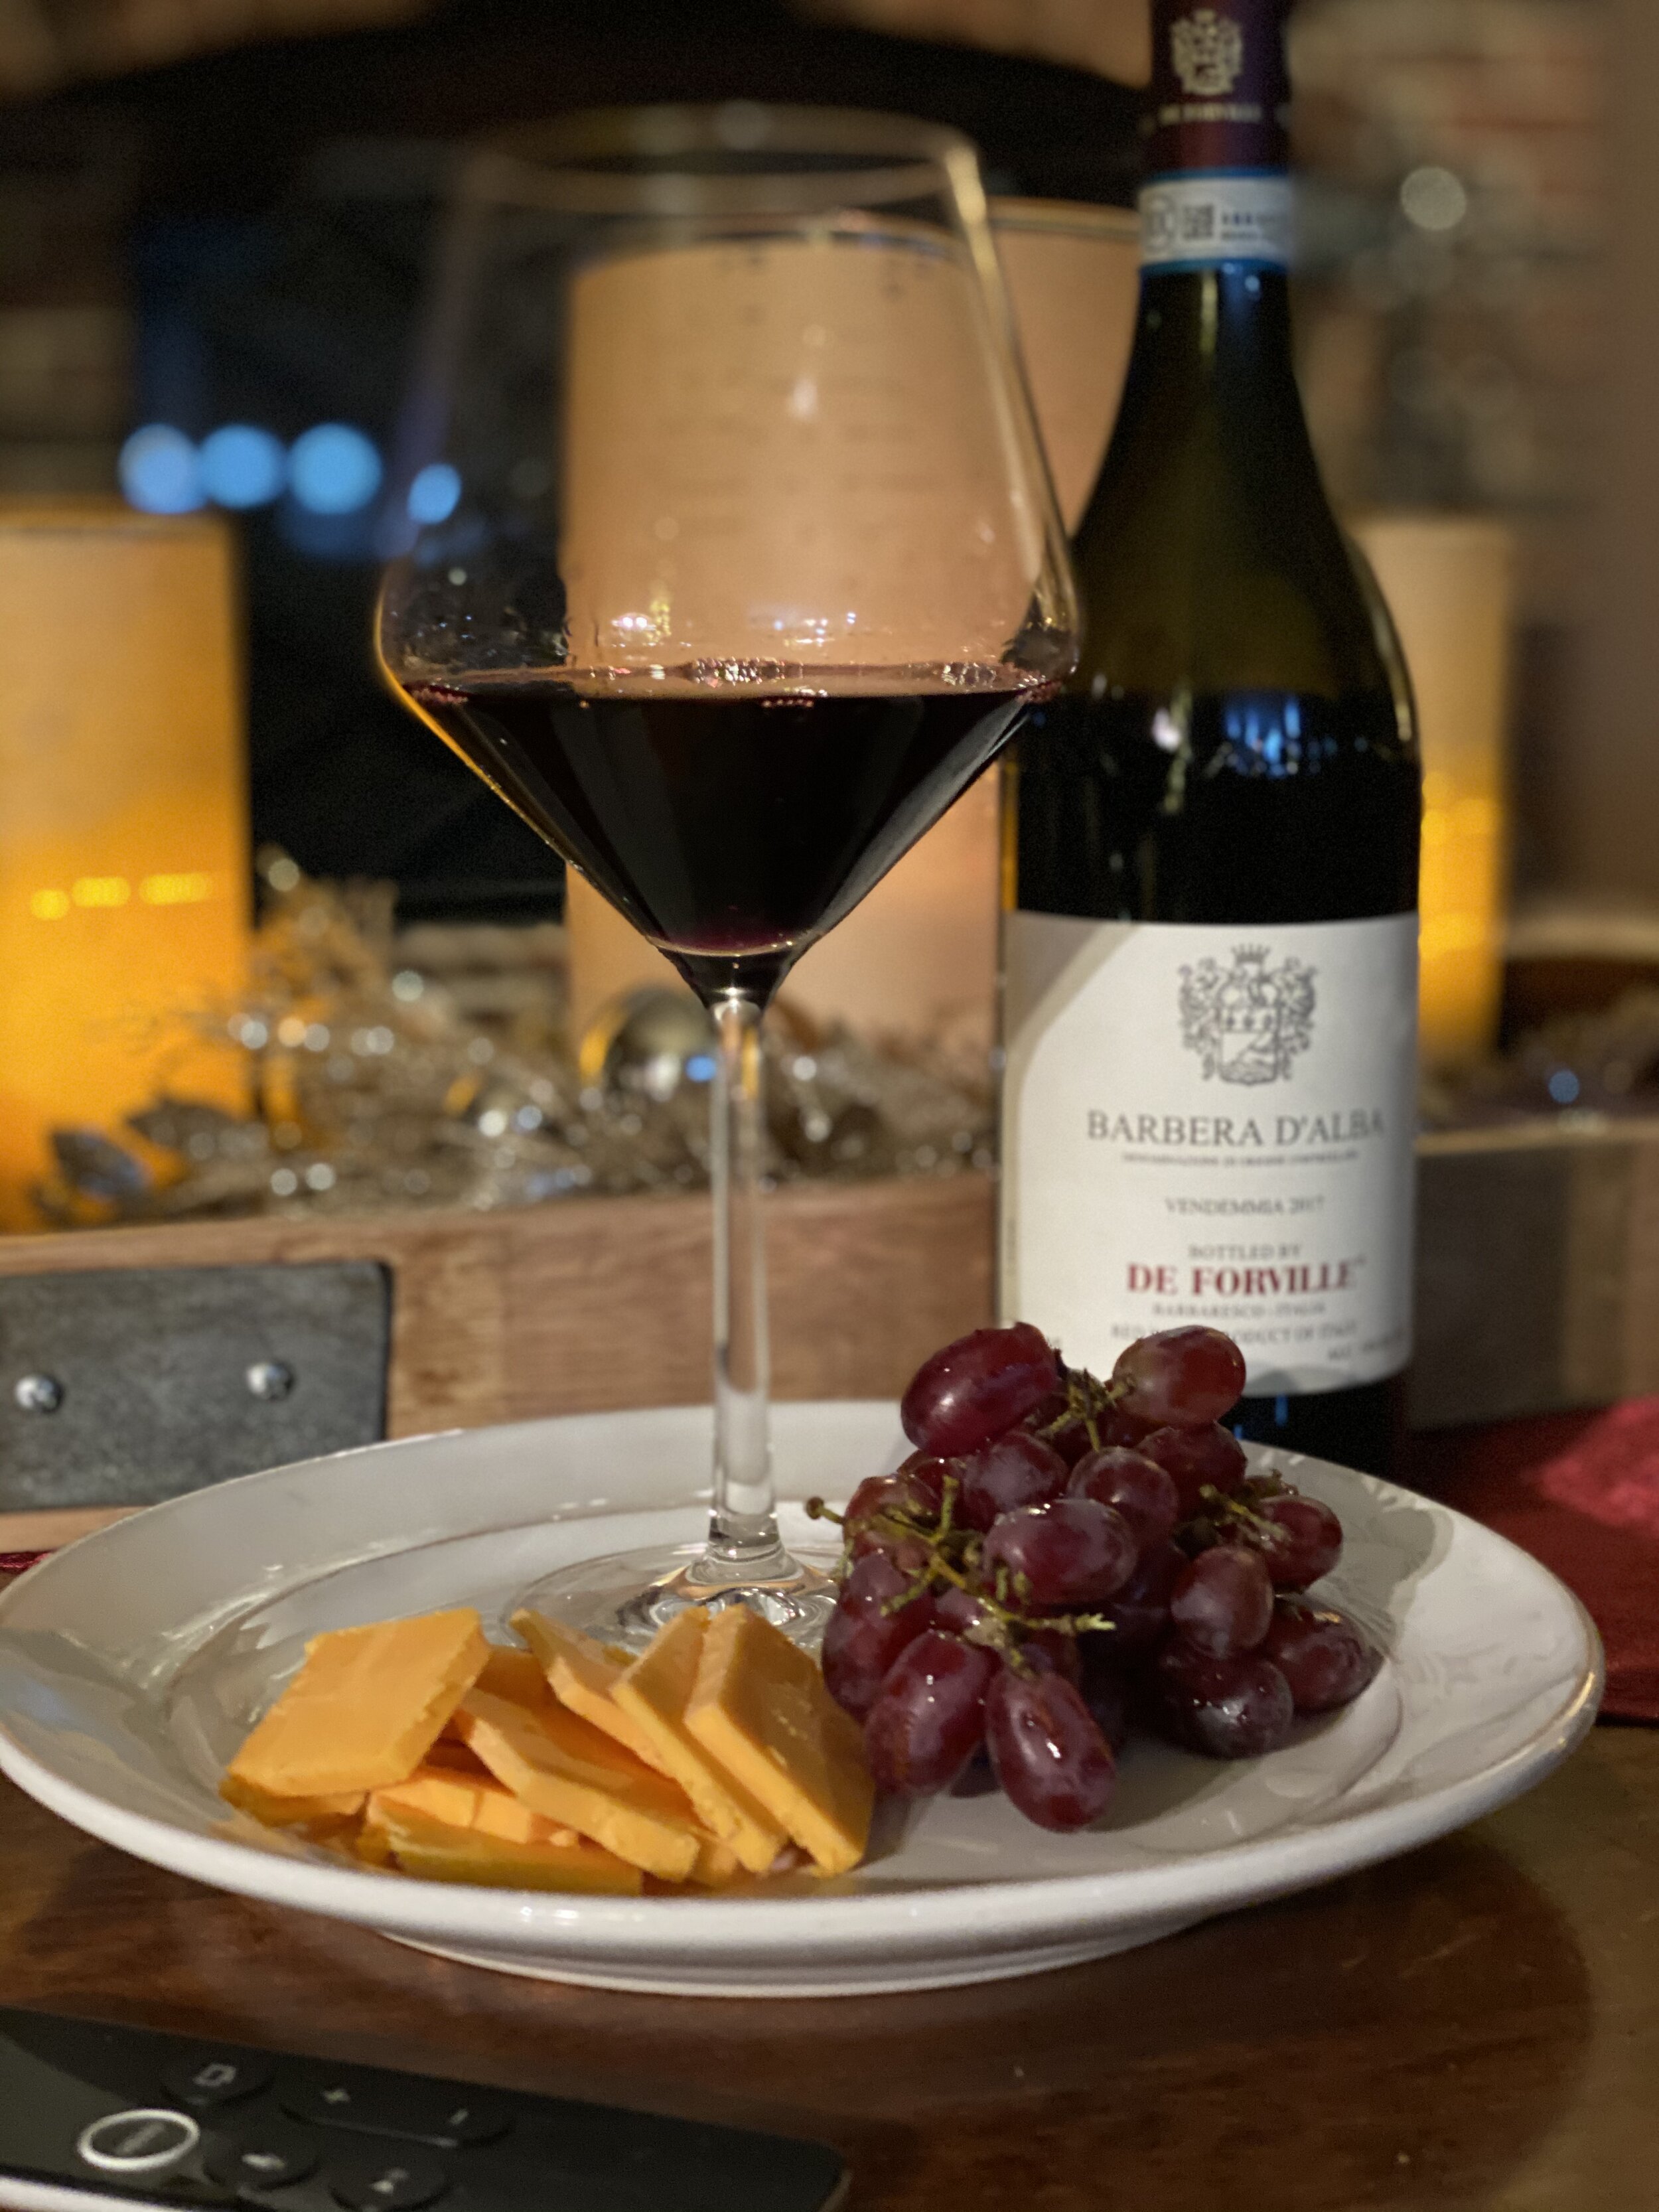
If you are in search of a perfect pairing, salty, mildly cured meats like Prosciutto or Soppresseta or semi-soft or fresh cheeses like Gruyere or Feta go well with a chilled Proseco, a French Rose or Bordeaux’s such as AIX or French Blue, or a Pinot Grigio or Sauvignon Blanc such as Cakebread. More moderately spiced meats like Salami and some soft cheese like Burrata pair well with a lighter, fruiter red wine like Hirsch Vineyards San Andreas Fault Pinot Noir. Harder cheeses like an aged Cheddar or Parmaggiano Reggiano or cheese a Bleu Cheese or Gorgonzola pair better with bolder reds or even a bold Zinfandel blend like Orwin Swift’s Eight Years in the Desert.

Pro Tip

If you are ready to drink the Kool Aid, it’s time to step into the light! Make your favorite board tonight, share it and tag @madoniaskitchen! For an amazing follow-up, try my version of an Affogato - a double expresso with a (large) dollop of vanilla bean or rum raisin ice cream added in.

Buona Mangiata!

The Best Bruschetta

It’s tomato season and time to overdose on bruschetta! I’ve made bruschetta at least a hundred times and while the ingredients are simple, getting the right combination of tomatoes, basil, garlic, and oil just right sometimes seems like a challenge.

My newest “fool proof” recipe starts with cherry tomatoes. My absolute favorite tomatoes are from Van Leer’s Fruit Farm in Capron, Illinois. Van Leer’s is a regular at the Aurora Farmer’s Market and the first time I saw their tomatoes, I fell in love. They are both beautiful and delicious and when you pair these with their incredible homemade bread, there is nothing better. Their Asiago Parmesean and their Italian Herb breads are my favorites!

I slice the cherry tomatoes in quarters, depending on the size of the tomato, and then let the tomatoes sit in a mesh colander placed in bowl in the refrigerator for a few hours. Before refrigerating, I season the tomatoes with kosher salt (use more than you think you need). Right before I’m ready to serve them, I take them out of the refrigerator, discard the juice in the bowl, and mix the tomatoes with fresh basil and the best olive oil I have in my pantry. For brushchetta, I’m loving Molini’s Monocultivar Nocellara organic extra virgin olive oil. The Nocellara olive is a native of Sicily and has a nice balance of bitter and spice.

I do not add garlic to my bruschetta, however, I always roast garlic and serve that alongside the bruschetta. Roasted garlic is super easy and the garlic comes out soft and sweet. Just cut the top of a bulb of garlic (not the root end) and drizzle it with olive oil, kosher salt, and pepper. Wrap it in foil and roast at 400 degrees for about an hour. Let the garlic cool slightly, then squeeze it out of the bulb and mash the garlic together. A little goes a long way, so all you need is a light spread of garlic on toasted bread topped with bruschetta and you have a wonderful first course.

Buona Mangiata!

The Way It Makes You Feel

labella.png

I didn’t learn to cook when I was young, but I did learn how food can make you feel.  Whether it was pizza from Al’s or Freddy’s, a sub sandwich from Mickey’s, a grilled cheese with Greek lemon chicken soup from Mother’s Day or Majestic, a hot dog and fries from all of my favorite places – Pompey’s, Pete’s, Parkey’s, Dandy’s – or a petite filet and baked potato from Giannotti’s, where we went many Saturday nights after church.  Those meals weren’t about the food per se, although I have to admit, some days I can still remember the taste of each of those delicious bites.  It was really about the experience; the way I felt each time I walked into one of those places.  It was about the people who worked there, who knew me and my family, and who were often part of some of the most important moments of our lives.

As I got older and my family started to grow to include spouses, children, and in-laws, we settled into a new routine and a new restaurant, La Bella Pasteria, in downtown Oak Park.  We were introduced to the original La Bella through one of our neighbors, where we started to spend most Christmas Eve dinners. Although our neighbors moved away, my family continued to spend Christmas Eve dinner there, including my fiancé and now husband, our family friend and best man Jim, and other friends and neighbors we have met along the way.  La Bella was the restaurant my husband and I ate dinner on the evening of our engagement, where we had our rehearsal dinner, and where we have had every family event since from communions to graduations and birthdays to anniversaries.  During our family’s history with La Bella, they had three owners and two different locations, but most of the staff stayed the same.  Those staff and the most current owners, Dave and Ann, became part of our extended family.  We looked forward to seeing them and hearing about what was new in our their lives.  We looked forward to those family celebrations where pictures include all of our friends and family with our La Bella family. La Bella was our second home, filled with so many happy memories and memorable events. I remember every bite of every meal, from the sausage and peppers and fried calamari, to the La Bella salad with crumbled blue cheese and stacked eggplant salad, to the ossobuco ravioli and chicken limoncello, to the pinot cake. 

On May 18, 2020, La Bella closed its doors. Like so many restaurants, La Bella was hit hard by the restrictions from the pandemic.  We said goodbye to our La Bella family on the same day as the 17th anniversary of our engagement. It was an incredibly hard day, filled with a rush of memories of every dinner and every family event. It’s been a hard feeling to shake, especially since we should have celebrated my nephew’s graduation there last June and my son’s engagement this past December.  Everyone always just knew that if there was something to celebrate, it would be at La Bella.  And while I am sad beyond words that we won’t be able to say that again, I want to be able to capture that feeling again – the love, happiness, nostalgia, and sense of family and community - that we felt every time we walked through the doors onto the black and white tiled floor.

Alla Famiglia!

Vegas Baby!

Another new year has come and gone and so has another trip to Vegas!  Vegas is and always will be, one of my all time favorite getaways.  The attraction of a 24/7 lifestyle, unlimited black jack tables, Wheel of Fortune, and the food seem like a great way to spend three days of my life!

This year, we seemed to spend an inordinate amount of time eating, snapping photos of our food, and talking about flavors, ingredients, wine pairings, etc.  We ate non-stop and ordered as many things as we could everywhere we went.  We had some successful meals and some not so successful ones.  Here is an overview of our best Vegas bites from 2017!

searsucker at Caesar's Palace

searsucker is a Brian Malarkey restaurant located in Caesear's Palace.  We stopped here for a late night snack after seeing Elton John's Million Dollar Piano.  Here are the plates we shared (left to right):  house made biscuits with whipped butter and infused honey, sliders with bacon, cheddar, chipotle, and crispy onions, and mac & cheese with Vermont cheddar, wagon wheels, and apple wood smoked bacon.

The best bite of the evening was the biscuits! They were a little dense but super buttery and just yummy!  The whipped butter was salty and the honey added an interesting bite.  I ate my share of the biscuits and part of my husband's as well.  I just can't pass up a biscuit, no matter how hard I try!

The worst bite was probably the sliders.  The meat itself was a bit over cooked and needed some salt, but all of the rest of the components were delicious.  The bacon was cooked perfectly and tasted amazing with the chipotle cream.  

For me, the mac & cheese fell right in the middle, but I think this was my husband's favorite dish.  The wagon wheels were fun to eat and the cheese and bacon together were delicious.  I loved the crispy top, but the dish had an uncooked white wine flavor that had an odd after taste.

Would I return to searsucker?  The answer is definitely yes!  searsucker is known for their short rib, so I definitely would like to give that a try, and of course, order another round of those biscuits!


MESA Grill at Caesar's Palace

If you have had a chance to read some of my other posts, you know that Mesa Grill is pretty much my all time favorite restaurant.  I can't even describe the food without my mouth watering!  It is just something you have to try.  The restaurant may not look like much from the outside, but walk in, order some tequilla and sit down and order the Tiger Shrimp and Roasted Corn Tamale (not shown above), New Mexican Spice Rubbed Pork Tenderloin, and Grilled Lamb Porterhouse Chops.  

My tequilla drink of choice was a smoked peach margarita.  Fresh peach and lime juice made this one of the best margaritas I have had.  My husband ordered the pork and said that my version is getting very close to the Bobby Flay original.  This pork is so tender and the combination of sweet and spicy just makes your mouth feel good!  My lamb was served with a serrano chimichurri and a chorizo goat cheese tamale (special request).  This is the best lamb I have had.  It tasted like a steak from Maestros - tender, buttery, melt in your mouth!  

Dessert was good, but not super memorable compared to the rest of the meal.  I cannot remember all of the components (I recall rasberry gelato) so I'm not even going to try and describe it.

I will go back to Mesa every chance I get!  If you are in Vegas and you don't go, you are a fool.  THAT Is how good this food is!

LAGO by Julian Serrano at Bellagio

Lago is Julian Serrano's first Italian restaurant.  The restaurant is beautiful with amazing glass and art work throughout.  It overlooks Bellagio's fountains and there is an outside eating area which would definitely be fun in the warmer weather!  The menu is mostly small plates, but they also offer a handful of entrees.  The restaurant is loud and a little difficult to carry on a conversation.  Luckily, I spent so much time eating that conversation wasn't really necessary!

As you can see from the pictures above, I somehow only took pictures of our drinks.   Once I started eating, I just could not bring myself to put the fork down and grab the camera.  Seriously, that is how much I enjoyed the food!

Since the drinks are so proudly displayed, I'll give you a quick summary.  I started with the Cucumber Mist - Grey Goose La Poire Vodka, Pallini Limoncello, Blood Orange Syrup, Fresh Lime Juice, Cucumber Sparkling Soda, Fresh Cucumber and Blueberries. My husband had the Sicilian Gin and Tonic (not featured above).  His drink came with a dried orange peel that tasted exactly like a shortbread cookie.  OMG was it delicious!  

The wine was a recommendation from a waiter - Damilano Barolo, 2011.  The wine was perfect with every plate we shared and it went down so quickly, we ended up ordering two bottles.  

Now, I'm sure you are asking WHY I have a picture of a cup of coffee.  Was the coffee good, sure, but the cup was so cute I just had to take a picture.  And if you life up the cup, there is a cute blue circle underneath!  LOVE!

The meal - UNBELIEVABLE!  I loved every dish!  This restaurant gave my favorite MESA Grill a run for its money.  Completely different food but the same memorable experience.  I picked it based on the menu and my past experience at Julian Serrano's Tapas at the Aria.  Every bite of every plate was a party in your mouth.  You literally just savor every bite and every flavor.  I can't find the words to describe this food.  The best thing I can do is use a line from one of my favorite movies, Big Night, "...when my uncle, in Rome, at this restaurant, makes this, you eat and then, you go [ugh]  and you kill yourself.  You have to kill yourself after you eat this; you can't live!"

Cooking my way through...Dinner

Yes, my obsession with NY Times' Cooking and Melissa Clark continues! 

I bought her latest book, Dinner: Changing the Game and plan on cooking my way through it. She has 26 recipes for roast chicken people...26!  It's the same chicken - just a different spice and flavor combination everyday!  I haven't started my journey yet, but next week, it's on!

Melissa Clark's story is definitely an interesting one.  I've been listening to her on some of my favorite podcasts lately and they are worth the listen:

Bon Appetit Foodcast Episode 104: Melissa Clark Can Fix Your Dinner Angst

Radio Cherry Bombe Podcast: Episode 104 (yes, the same episode number): Melissa Clark

She has a great story and is fun to listen to, but the Bon Appetit Foodcast and Radio Cherry Bombe Podcast are pretty much great listens every week!  Need a podcast player? Check out Overcast - it's my player of choice!

I hope you will follow my Melissa Clark journey on the main page of this site over the next few weeks.  

Here's to Dinner my friends!

dinner.jpeg

Just a quick PS...if you are a fan of Top Chef, like I am, definitely check out Radio Cherry Bomb's Episode 102: Top Chef's Brooke Williamson and Shirley Jung.  You will LOVE it!

I'm in LOVE with my Insta Pot!

Well, it seems like I have been on quite the cooking hiatus since Christmas.  I feel like I have been in a food limbo - making some of my standby recipes, trying some different diets, and just not really feeling super creative on the food front.

However, I did see a recipe that made my mouth water a couple of weeks back for Pressure Cooker Spicy Pork Shoulder by Melissa Clark.  That recipe inspired me and so did the idea of using an electric pressure cooker.

Now, I could have used my slow cooker, but after watching the video with my husband, we both knew that we had to have an electric pressure cooker!  He ordered the Insta Pot Electric Pressure Cooker for me and once it arrived, the challenge to make that mouth-watering pork recipe was on! 

I will say the Insta Pot is a keeper!  It was nice to be able to brown the meat and cook it in the same pot - less mess to clean up afterwards. Overall, I think the pork was more moist and had better texture than the slow cooker.  I love my slow cooker and it is the perfect "set it and forget it" option, but the Insta Pot definitely gives the slower cook a run for its money.  It took about 15 minutes for me to figure out how to work it and brown the meat.  After the meat was browned and I added the liquid to the pot, it took 90 minutes (exactly) to cook.  I was scared to open the pot at first, thinking steam would fly out from every nook and cranny, but it didn't.  I think the directions (which I skimmed briefly) said there is a 10-minute cool down period once you decide to vent the steam.  One of the options that I really liked is the "Keep Warm" feature.  This lets you keep the food warm for up to 10 hours after it has finished cooking.  This would be nice if you are having people over...get things started in the morning, then let it sit on warm until your guests arrive.  

I followed Melissa Clark's recipe, with the following substitutions:

The pork was delicious and had a nice sweet and spicy feel.  It wasn't too spicy, but it had that nice deep roasted chile after taste.  Putting it under the broiler before serving gave it those nice crunchy bits - OMG! You almost couldn't stop eating it - that flavor made you keep digging your fork in to take one more bite!

I definitely recommend giving the Insta Pot and this recipe a try!  And, if you want to see some awesome food picks, follow Melissa Clark on Instagram at @clarkbar!

Let's Go Yankees

I was fortunate enough to be at Yankees Stadium on the day that the Yankees retired Derek Jeter's number.  Even now, watching some of the videos, my eyes well up when I hear Bob Sheppard's recording of "...number two, Derek Jeter, number two."

The game occurred on Mother's Day and because of a rain out the day prior, the Yanks played a double header the day of the retirement ceremony.  We tasted our way through Yankees stadium (yes, I said tasted) and seriously had some amazing food.  The most memorable was our trip to Mighty Quinn's BBQ where we devoured their Brontosaurus Rib and Dirty Fries. 

The Brontosaurus Rib is a full pound of tender short rib on the bone, which is smoked for 16 hours.  The Dirty Fries are topped with brisket burnt ends, chili lime sauce, red onions, and scallions.  Excuse the less than perfect pictures.  My photography skills were impaired by my mouth watering (and being a few beers in by the time we made it to Mighty Quinns).  

If you ever find yourself at Yankees Stadium, make sure you check out the Yankees Stadium Dining Guide before you go.  There is a lot of history at the stadium, but also a lot of food.  You don't want to miss a moment!

As Jeter said...

Time flies, memories fade, but memories are forever...

Creamy Mushroom Soup ala Risa Groux

I had an amazing opportunity earlier this year to visit Miraval Resort in Arizona.  While my time there was short, I had an experience I will never forget.  This is one of the most peaceful places I have ever been to and I am thankful for the people that I met when I was there, the classes I attended, and the opportunity to be in a beautiful setting that allowed me to sleep and read to my heart's content!

During my time there, I had the opportunity to meet Risa Groux.  Risa is a certified, holostic nutritionist with a practice in Newport Beach, California.  We actually met at the airport, shared dinner together, and saw each other throughout our stay at Miraval.  Risa is the healthiest person I have ever met and loves to cook.  I have been trying her recipes since I have been home and they are amazing!  Risa's recipes are Auto Immune Protocol, Paleo, Keto, and Newport Beach Cleanse friendly.  When you visit her site, you will see how opposite they are from my style of cooking, but I promise you, they are equally as delicious!

Today I decided to make the Creamy Mushroom Soup recipe from her site. I varied the recipe just a bit...

I used only organic, baby Portabella mushrooms, because I like those the best!  I sauteed them in ghee, onions, and garlic for a several minutes and then added a few splashes of Worcestershire Sauce and red chili flake before adding the bone broth.  If you are AIP Protocol, please do not include these additions.  Lastly, I used Beef, Jalepeno, and Sea Salt Epic Bone Broth (because that was available at my local Whole Foods) and cooked the soup about 20 minutes instead of 10.  I finished it with a bit of Italian parsley at the end, right after I finished blending it.  

The soup was delicious and I will definitely make this recipe again.  I plan to share some of what I made with some friends to spread the word about how delicious healthy cooking can be.

I hope that you enjoy Risa's recipe as much as I have.  Thanks #risagrouxnutrition!


Spring Grilling!

Spring is (barely) in the air and we have started one of our weekly traditions at Madonia.Kitchen.  What is that tradition you ask?  Laying in bed on Saturday morning and watching BBQ videos!

This week, we were inspired by Malcolm Reed's Grilled Hanger Steak.  My mouth was watering as I watched the video.  Malcolm explains it the best way...hanger steak looks like a tenderloin and tastes like a rib eye.  Cooked to about 130 degrees, this a tender, luscious bite.  There are two things that you have to remember about this cut.  First, you cannot over cook this meat.  If you like your steak well done, buy something else.  Second, let the meat rest.  If you cut it too soon, all of juices you sealed in at that high heat will go to waste.  

Hanger steak is not as easy to find as you would think.  Luckily, Sages Meat Market, located here in Oswego Illinois did not disappoint! Sages offers an amazing variety of meats, all freshly cut, and some already prepared in amazing marinades. They share specials on Facebook daily and the best way to get any special cuts quickly is to call in advance (24-48 hours) and they will have your order waiting!

The recipe is so simple and the cook time is very quick.  Olive oil and some coarse steak seasoning is all you need.  I used Weber's Chicago Style Steak Seasoning or you can try Malcom Reed's Killer Hogs Steak and Chop Rub.  I thought the seasoning was a little salty and to be honest, the next time I make this, I'm just going to use kosher salt and coarse black pepper.

Cook time is about 2 minutes per side for a total time of 8 minutes, all at 500 degrees on a direct flame.  Let the steak sit 10 minutes before you serve it.  We served this with a side of sweet corn (frozen from last year's crop) and a bottle of Frank Family Cabernet Sauvignon.

Today, we served the leftover hanger steak on some toasted french bread with a slice of provolone cheese.  BEST steak sandwich I have ever had!

Looking forward to trying this one soon for a family gathering!  Enjoy!

Sheet Pan Chicken

Sheet pan dinners seem to be the current cooking trend.  What could be easier than cooking a full meal - a protein and either a veggie or a starch - and only have one pan to clean-up?  Easy is a good thing, especially after working a long day.

I've been trying different combinations of sheet pan dinners.  So far, the most reliable and tasty meal has consistently been chicken thighs.  I buy them bone in and skin on for flavor, but both can easily be removed after cooking if you prefer.  For the last few weeks, chicken thighs have been my go to for lunches.  I buy a package of thighs, make a quick marinade, and cook them on Sunday as my lunch for the week.  I have eaten the thighs alone, shredded the meat to place on top of a salad or in a taco, or even thrown them in some chicken broth and made a quick soup. 

The recipes are super simple and you can definitely use any type of marinade or dry rub that you prefer.  What is great is that no matter what you put on these thighs, you can guarantee that 45 minute later, you will have a perfectly cooked, moist, tasty piece of chicken!

Mariande Option #1 (picture on the left):

Basil, tarragon, Italian parsley, garlic, lemon zest and juice, olive oil, kosher salt and pepper

Marinade Option #2 (picture on the right):

Lemon zest, Italian parsley, garlic, olive oil, Sicilian lemon balsamic vinegar, kosher salt and pepper

The marinades are not a science.  Mix any fresh herbs together that you like or that you have on hand.  Just add olive oil, salt and pepper, and some acid or vinegar to balance it all out!

Preparation:

Chop all of the ingredients for the marinade and combine them with about 1/2 cup olive oil and 1/4 cup vinegar (second option).  Place the chicken in a Ziplock bag and then pour in the marinade.  Squeeze as much air out of the bag as possible, seal the bag, then rub the marinade into the chicken.  Let the chicken sit in the marinade at least 30 minutes (at room temperature) or overnight in the fridge.  If you are marinading the chicken overnight, then make sure to bring the chicken to room temperature before cooking (about 30 minutes).

Heat the oven to 450 degrees.  Cut an onion into thin slices, then toss the slices with some olive oil, salt, and pepper.  Spread the onions on a sheet pan, the remove the chicken from the marinade and "snuggle" the chicken into the onions.  Cook the chicken for approximately 40 minutes until it reaches an internal temperature of 165-170 degrees.  Let the chicken rest for about 5 minutes before serving.  

Sides are easy.  Bake a potato, make a pot of rice, roast some asparagus or other vegetables, make a salad...it's up to you!

Enjoy... 

What's New at Madonia.Kitchen?

Well, it's been a couple of long weeks without a lot of cooking at madonia.kitchen.  My garbage cans have been filled with Chipotle and Portillo's bags and a variety of pizza boxes.  I've eaten all of the Progresso soup that was left in my pantry and I've binged on cheese and crackers several days in a row.  Oh, and then there were the Hershey Kisses...

As you can see, the kitchen has been kind of slow lately.  This weekend, I did manage to make some old favorites. including Egg Mentz-Muffins with sausage and chive (no cheese this weekend kids) and Chicken Parm (because that had plenty of cheese).  I prepped some garlic, shallots, yellow onions, and parsley for recipes that I'm making during the week, washed some leeks, carrots, and celery, and made about 100 mini chicken and sausage meatballs.  Almost forgot the tarragon, parsley, mustard, and olive oil marinade I made for some chicken thighs.  Now, that is a funny story...

I pulled out what I thought was a bottle of fancy dijon mustard from the pantry.  It looked weird, but the expiration date was late 2018, so I thought it was me.  I added it to my marinade and then left it on the side to make a salad dressing.  When I went to make the salad dressing, I realized it was a bottle of truffle cream pasta sauce that I got as a gift for Christmas.  Luckily, I saved the marinade, but it was too late for the chicken thighs.  If THAT recipe turns out, I'll definitely post it! Hey Siri, remind me to make an appointment with the eye doctor...

Here is this week's menu:

  • Lemon and harissa chicken with roasted asparagus
  • Italian wedding soup (thus the mini meatballs!)
  • Roasted romaine salad with oven dried cherry tomatoes
  • Tarragon and garlic chicken thighs (keep your fingers crossed for this one!)

I'm also practicing my salmon cooking techniques, so hopefully I'll have a successful recipe to share soon.

IMG_7517.jpg

So, other than making a mess and washing a ton of dishes as you see above, I also spent some time updating the website.  I hope that you like the new look and feel and that mobile users find the site more easy to navigate.  Please be patient as I'm trying to make some final tweaks and fix some broken links.  Would LOVE to get your feedback on the site and if you find something that isn't quite right, let me know.  Y'all can be my QA testers!

Have a good week everyone!


Risotto with Sausage and Parsley

I subscribe to a NYT news feed called What to Cook, authored by Sam Sifton.  The feed often leads to what I cook or at minimum, inspires it.  Y'all know that I love risotto and after seeing a picture of Risotto with Sausage and Parsley, I was off to the store!

If you don't have a subscription to NYT Cooking (they have an app too), you may want to sign-up.  They have both free and paid subscriptions that allow you to access different features.  For those of you have a subscription, you can see the original recipe here.  Mine doesn't differ much, but as you know, I always change it up a bit!

Ingredients:

  • 1 1/2 pounds Italian sausage (I used 1/2 hot and 1/2 sweet)
  • 2 shallots, diced
  • 4 garlic cloves, diced
  • 8 cups chicken stock (I used Better than Bouillon Roasted Chicken Base and followed the instructions on the label to make 8 cups)
  • 1 1/2 cups Aborio rice
  • 1/2 cup Pinot Grigio (plus more for drinking!)
  • 1/2 cup Parmesan
  • 1/2 lemon
  • 2 tablespoons unsalted butter
  • 1 bunch fresh, flat parsley leaves, chopped
  • Olive oil
  • Kosher salt, pepper

Start by either making the bouillon or bringing 8 cups of chicken stock to a boil.  Reduce the heat to low and let simmer.

Brown the sausage in two tablespoons of olive oil.  When the sausage is browned and fully cooked through, remove the sausage from the pan and drain on some paper towels.  Cook the shallots in the pan drippings until they begin to soften, then add the garlic and cook for another minute or until fragrant.  Next, add the rice and toast it slightly, about 2-3 minutes.  Pour in the wine and let the rice, shallots, and onions cook until the wine is almost fully absorbed.

Add the stock to the rice, two full ladles at a time.  Stir the rice frequently and let it the stock absorb.  Each time the stock is almost fully absorbed, add an additional two ladles of stock and follow the same process until you have used all of the broth. Add the sausage back to the rice and cook for two minutes.  Then, add the butter, lemon juice, and parmesan and stir to combine.  Remove the rice from the heat and stir in the parsley.

The risotto tastes best when you serve it right off the heat.  I served this as the main course with an arugula, pear, and blue cheese salad.  I tossed the arugula with some lemon juice, salt, and pepper before adding the pear slices and blue cheese.  At the end, I drizzled on some Fig Balsamic Vinegar.  The vinegar cut through the richness of the risotto.  It was the perfect balance!  The Fig Balsamic was definitely a nice reminder of our trip to Traverse City and our cooking class with Chef Ali at Fustini's. Such a great weekend!

This risotto, arugula salad, a glass of Pinot Grigio, and an episode of This is Us was a perfect way to spend an evening watching the snow fall!

Bon Appetit!


Winter Grilling - Bacon Wrapped Pork Tenderloin

I've been following @bbq_bboy on Instagram for a few months now.  His photos literally make my mouth water.  When I saw his post on Bacon Wrapped Pork Tenderloin, I went to fire up my Big Green Egg.  I was making this even if it was the middle of winter!

While my final photo was not as pretty as @bbq_bboy, it was pretty damn delicious!  I used his recipe as a guide but used slightly different ingredients.

Ingredients:

  • 2 pork tenderloins
  • 8 slices of thick cut, peppered bacon
  • Killer Hogs The BBQ Rub
  • 2 springs of fresh rosemary

Coat the pork tenderloins in The BBQ Rub.  This a great rub, but you can use any of your favorite BBQ rubs.  If you want to make your own, you can also combine one part each of brown sugar, garlic powder, sweet paprika and 1/2 part each of fresh ground black pepper, kosher salt, and cayenne. 

Wrap the bacon around the pork tenderloin, slightly overlapping the slices.  Tie the tenderloin and let it sit for about 30 minutes while you heat up your grill.  I (obviously) used my Big Green Egg and cooked it on indirect heat at 275 degrees.  I cooked it until the internal temperature was 140 degrees (I think it took about an hour), then removed it from the grill and then let it sit covered, for approximately 10 minutes.  

Surprisingly, the bacon was pretty crispy, but if you want it crispier, you can always take the pork off at 135-140 degrees, crank up your grill to around 400, then put it back on hot grill for about five minutes, flipping once.  The goal is to not let the internal temperature exceed 145 degrees.  That is the perfect temperature for this tenderloin.

I served this with risotto, because I love risotto, but I think it would be great with some roasted winter vegetables (butternut squash, mushrooms, zucchini) rubbed with olive oil, salt, pepper, and a bit of chili flake.  A nice glass of bold Cabernet (we had a 2010 Cabernet from Angelo Cellars) and some lemon Italian ice for dessert make this meal complete.  

Cheers!


Chicken and Dumplings

IMG_7451.jpeg

Chicken and Dumplings

So, I never tasted or made Chicken and Dumplings until about two months ago.  My mother-in-law made a fantastic dinner of Chicken and Dumplings (besides other amazing things), and I knew I had to try this for myself. It's been haunting me since the last time we had dinner there!

So last week, as I was scrolling through my NYT What to Cook This Week email feed, this recipe from Alison Roman appeared. The picture looked so good, I saved it to my recipe box and promised myself I would make it this weekend.

The recipe didn't disappoint!  I followed it almost to the letter, but of course, added some red chili flakes to the soup base and a squeeze of lemon at the end.   Yeah, that's kind of my signature thing, right?  Spice and acid!

The recipe required multiple steps but was fairly easy.  I've never made dumplings before so I wasn't sure what to expect.  They were easy to make, but my suggestion is cutting the dumpling recipe portion in half and making the dumpling smaller than Alison recommends.  My suggestion is making them mini meatball size and cooking them about 3 more minutes longer than is recommended.  

Here is one thing I'm going to tell you that you can't every forget.  ONLY buy chicken thighs, bone-in and skin-on.  When you brown these thighs and render the fat, it provides a flavor that you can't get any other way.  Boneless, skinless anything is horseshit (sorry, watching Step Brothers) and just doesn't produce the same result.  If you read my last post, you learned about my new Better than Bouillon trick.  The difference between this and box stock, or plain water, is like the difference between Cool Whip and real whipped cream. Try it and you will never turn back!  

Stay warm on this snowy day my friends!


From Chickarina to Homemade Italian Wedding Soup

Most kids grow up eating Campbell's Chicken Noodle Soup, but if you grew up in an Italian family, the only store bought soup you ate was Progresso.  My family's favorite was always Progresso's Chickarina, which is the store bought version of Italian Wedding Soup without the scharole.  Chicken soup with mini-meatballs and little dots of pasta...come on!

I've done my best to avoid eating scharole for 47 years and I think I've been relatively successful.  But on one cold day, as I was making a can of Chickarina for lunch, I told myself that I needed to make this soup from scratch.  Adding the scharole, would make it an authentic Italian Wedding Soup, so off I was to find a recipe.

Luckily, Barefoot Contessa was on Food Network that day and after watching several episodes in a row of Cook Like a Pro, I finally googled "Ina Garten Italian Wedding Soup" and found this recipe

Before I tell you how I changed up the recipe, you need to understand that I love Barefoot Contessa.  One of my dreams is that I visit her at her gorgeous Hampton's house, cook a meal with her in her gourmet kitchen, and then serve the perfect meal in the barn.  Who doesn't have this dream?  Seriously, her house, that garden, and the barn are simply fabulous!

But, I digress...here is what I changed:

Meatballs.  I used 3/4 pound of ground chicken thighs and 1/4 pound of sweet Italian sausage.  Instead of white bread crumbs, I used Whole Foods Italian Seasoned Breadcrumbs (Panko style). Two cloves of garlic are just never enough, so I kicked that up to four cloves.  Otherwise, everything else stayed the same.

Soup.  I added one Serrano pepper and removed the seeds and ribs.  For the pasta, I used Ancini di Pepe instead of tubetti. Let me be clear, you can only use Ancini di Pepe or it won't be traditional Italian Wedding Soup.  The little pearls of pasta make this soup!  Instead of baby spinach, you must substitute scharole (e.g., curly endive, escarole).  This is harder than you think.  I couldn't find this at Whole Foods or Standard Market, so I used rainbow chard, removed the ribs, and cut it into a chiffonade. Also, at the very end of the cooking time, I squeezed half a lemon into the soup.  I don't care what you make, everything needs a bit of acid!

As for the broth, I did have some homemade chicken stock left over from Thanksgiving, but I want to share my favorite new shortcut!  If you don't have homemade stock, use Better Than Bouillon.  Use about 1 1/2 to 2 tablespoons of this product to one quart of boiling water in lieu of homemade stock.  This stuff rocks!

So, how did it turn out?  Seriously amazing.  It is Chickarina on steroids!  Adding the extra spice and some lemon really rounded this soup out and you know what?  I'm not afraid of scharole anymore!  I know I didn't use the traditional scharole, but the chard was pretty close and I ate ever bit of it!

So how did I top this great meal off?  Well, I recreated a Pinot Grigio cupcake from LaBella Pasteria and made a raspberry and blueberry compote to round it out.  Stay tuned for the recipe in a future post!

So how did I top this great meal off?  Well, I recreated a Pinot Grigio cupcake from LaBella Pasteria and made a raspberry and blueberry compote to round it out.  Stay tuned for the recipe in a future post!

Egg Mentz-Muffins!

IMG_7363 2.jpg

Egg Muffins

Chef Ali Lopez inspired me to make these great breakfast bites!

If you are like me, I'm starving in the morning, but never have time to make breakfast.  Lately, my morning routine involves coffee, which I sometimes make at home, or often times, obtain through an awful drive through window.  Since it's still the 'season,' I'm eating leftover Christmas cookies...dried cranberry and chocolate chip cookies, Mexican wedding cakes sans nuts and with cinnamon (courtesy of my sister), and Pizzelles.  

I needed a better alternative to sugar in the morning and Chef Ali Lopez inspired me to make these bites!  I met Chef Ali at Fustini's in Traverse City.  Chef Ali did a private cooking demonstration for me in the middle of a blizzard (14" of snow with zero visibility).  Her meal was wonderful (which I will share later), but her tip on using silicone cupcake tins to make these egg bites was invaluable!  The egg bites popped right out and the clean-up was minimal!

The recipe is simple and you can substitute the sausage for veggies, bacon, or anything else you would like.  Here is my version of the recipe:

  • 12 eggs
  • 8 links of breakfast sausage (casings removed)
  • 1 Serrano pepper 
  • 1 cup Hooks' 5 year aged cheddar (use as much cheese and whatever kind you like), plus more for sprinkling
  • Kosher salt and pepper
  • Milk
  • Canola oil

Start by browning the breakfast sausage with a bit of canola oil.  Add the Serrano pepper.  once cooked through, drain the sausage on some paper towels and let cool.

Preheat your oven to 350 degrees.  Spray your silicone cupcake tins with a some olive oil spray.  Beat 12 eggs with a touch of milk, salt, and pepper.  Add the sausage and pepper mixture and a cup of the cheddar.  Fill the silicone cupcake tins with the mixture and place on a baking sheet.

Cook in the oven for 20-30 minutes, or until a knife inserted into the egg muffins comes out clean.  Eat these warm or let cool and reheat for breakfast anytime!  You can always add a little more cheese and your favorite hot sauce to this.  Having something this quick available and the flexibility of adding anything you want to these bites makes them super versatile!

Postscript:  I wrote this blog over a week ago and as I was getting ready to post it, I heated up the last of my Egg Mentz-Muffins.  I have eaten these every day this week and even today, they taste just as good as the first day!  This is something I will make regularly, mixing up the ingredients.  A lot of pay off for so little work!

IMG_7360.JPG

It's About Time We Ring in the New Year!

2018 definitely was a long time coming.  I was happy to say farewell to 2017 and ring in the new year!  I'm looking forward to a year filled with new recipes and more blog posts! 

So, let's kick things off on this cold January day with some spicy, warm soup! 

IMG_7369.jpg

Lemon Chicken Orzo

I've been making this soup for a couple of years now, but each time I make it, I always try something new. 

Here's what you will need...

  • 6 boneless, skinless chicken thighs
  • 8 cups homemade chicken or turkey stock (I had turkey stock left over from the holidays)
  • 1 cup orzo
  • 2 leaks, white parts only, sliced thin
  • 3 celery ribs, chopped
  • 3 carrots, chopped
  • 1 Serrano pepper, seeds removed, minced
  • Zest and juice of 1 large lemon (or 2 small)
  • 1 tsp ground coriander
  • 1 tsp cumin
  • 1 tsp sweet paprika
  • 1/4 cup white wine (your choice, but I used Pinot Grigio)
  • Canola oil
  • Kosher salt and black pepper

Start by mixing the coriander, cumin, and paprika together.  Season the chicken thighs generously on both sides with salt, pepper and the spice mixture.  Heat a large dutch oven with about 2 tablespoons of Canola oil.  When the oil starts to shimmer, brown the chicken on both sides and remove it from the pot.

Add a little more Canola oil to your pot and once it starts to shimmer, add the leeks, celery, carrots, and Serrano pepper.  Saute the vegetables with any of the remaining spice rub, the zest of one lemon, and a dash of salt and pepper.  Once the vegetables start to get a good color, add the white wine and scrape the brown bits from the bottom of the pan.  Once the wine has been totally absorbed, add the chicken back to the pot along with the stock.  Bring the soup to a boil, then lower the soup to a simmer, cover it, and let it cook for 25 minutes.

At the 25 minute(ish) mark, remove and shred or chop the chicken.  Bring the soup to a boil and add the orzo, shredded chicken, and the juice of one lemon (taste the soup and add more lemon to taste).  Reduce the heat to medium and cook the soup until the orzo is cooked al dente.  If you are making this in advance, you could also cook the orzo separately in a pot of salted, boiling water, for about 8 minutes.  Drain the orzo, then add to the soup and cook on low for about 5 minutes.  Make sure you let the soup completely cool before you package and refrigerate it, if you are making it in advance.   

IMG_7364.jpg

Beef Barley Soup 

This receipt is based on a recipe from Melissa Clark.

I have made beef barley soup before, but I wanted to try a new recipe.  Melissa Clark's recipe intrigued me because of the lemon and the fennel.  When I read the recipe it just seemed super fresh and bright, which is not typical of most beef-based soups.

The link above will take you to her recipe, but I wanted to share a few tweaks I made below.  

  • Instead of the cayenne, I used a minced Serrano (seeds removed), mostly because I had Serrano peppers in the fridge.
  • I skipped the parsnips and turnips, only because I'm not a huge vegetable fan.  I'm sure the addition would be great though!
  • I added Escarole instead of the kale or baby spinach.  
  • I added a small amount of red wine (maybe 1/4 cup) because I had a small bit leftover from last night.  I added this when I added the broth and water.

The best part of this recipe is when you add the tomato paste and spices to the dutch oven. The entire house filled with an amazing, smoky aroma that made my mouth water.  That step alone made the prep work worth it!

After about four hours of cooking (and tasting) today, I finally sat down and had a glass  of Kobler Estate's 2016 Rose of Grenache with a splash of Pelligrino and a handful of fresh raspberries and blueberries and a couple slices of blood oranges.  

Best cooking day every! Happy 2018!

I never met a Lobster I didn't like...

I really like lobster.  Lobster tails, lobster rolls (butter, no mayo), lobster bisque, lobster mac and cheese...I think you get my point.  But, despite my admiration of this crustacean, I have never tackled cooking lobster at home.

I often spend Saturday and Sunday mornings thinking about what to cook while lying in bed. That process includes looking through recipes I saved earlier in the week, reading or watching videos on the NYT Food page, or indulging in new addiction, the HowToBBQRight YouTube channel.  I don't know what it is about Malcolm Reed, or his food, but there is something endearing about him.  I started reading his recipes and watching his videos when we first bought the Green Egg, but a year in, something about his food keeps me coming back.

So, when I came across Malcolm's Grilled Lobster Tail video, my worlds collided!  Lobster on the grill?  My time had come!

As you can see, our lobster dinner turned into surf and turf night.  The lobster itself was easier than I thought to make, but the timing of the lobster and the steak was hard using one grill.  We solved that problem by firing up both the Big Green Egg and our Weber Performer grill.  

For the Surf

We followed the Grilled Lobster Tail recipe exactly, using the Weber Performer grill.  I bought lobsters that were flash frozen from Whole Foods and ran them under cold water for about 10 minutes to completely defrost them.  The most important step in Malcom's video is to cut down the shell of the lobster to exposure the flesh. No matter what size lobsters you get, do not skip this step.  You need to expose the flesh for cooking and you need to be able to get the flesh out of the shel after it is cooked.  This step makes sure that both happen!

We cooked the lobster at 375 degrees, indirect.  The cooking times in the video are spot on. Adjust the amount of butter you use in the butter basting sauce based on the amount of lobster you are cooking.  I cooked two 4-ounce tails and only used one stick of butter, with plenty of the butter basting sauce left over.

For the Turf

Malcolm was the inspiration here, once again!  We followed his Grilled Filet Mignon on the Big Green Egg recipe, using two 4-ounce filets.  We rubbed them in olive oil, salt and pepper while the Green Egg was getting hot.  The cooking time was the easy part - two minutes each side on direct heat (grill was at 650-700 degrees) - then shut off the heat and let the steak sit for 3-4 minutes in the grill and another 10 minutes off the grill, covered in foil.  

Malcom made a compound butter, but my advice is to make the butter recipe your own.  I only used one stick of softened, unsalted butter, one head of roasted garlic, one shallot, salt and pepper, and a mix of fresh parsley, rosemary and thyme.  I threw all of the ingredients in a bowl and mashed it together, although as you will see, my butter was a little chunkier than Malcolm's. My knife wasn't super sharp and I wasn't in the mood to totally mince everything perfectly, so you will see some small chunks of shallot and garlic in there.  It still tasted great and to me, that is what mattered!

If you are crazy enough to have two grills, or if you have an easier time controlling your temperature on one, make sure to cook your steaks first.  While the steaks are resting for 10 minutes, cook your lobster.  Timing wise, this should work out perfectly.  Once you pull those lobsters off the grill, you are ready to eat, so get everyone to the table toot sweet!

One last thing, this meal has a lot of butter.  I did use less than what was in Malcom's recipe, including the dollop of butter I put on our steak.  A small amount goes a long way.  And, you won't need extra butter to dip that lobster meat in.  The butter bath that you give it on the grill is more than enough.

Serve this with a red wine that is super juicy and has a lot of fruit.  We had a 2014 Syrah from Kobler Estate Winery that was amazing!  It cut through the butter and just brought out the succulence of both the lobster and filet.  It was the perfect pairing!

This meal seems like a lot of steps, but it sounds more involved than it is.  When you are in the mood to indulge, try this meal.  I promise you that it will be worth it!

Beef Tenderloin Stuffed with Herb Pesto

What do you do when you have a taste for pesto but aren't sure what to serve it with?  Just look at Wednesday's Food Section from the NYT and something is bound to inspire you!

This week's front page of the section was perfect: Beef Tenderloin Stuffed with Herb Pesto.  I skimmed the recipe and then headed to Whole Foods.  I probably should have thought twice about that trip because beef tenderloin is expensive...very expensive! The tenderloin is the most tender piece of meat you will ever eat, but its an investment.  It is also easy to very easy to overcook, so even if you are someone who loves their meat well done, do yourself a favor and follow the cooking guidelines below.  A well done tenderloin will bring you to tears; especially after you paid all of that money!

Here are the ingredients:

  • Three pound beef tenderloin, butterflied (you can do this yourself, but I asked the butcher to do it for me)
  • 2 packages basil (I used Gotham Greens basil - so good!)
  • 1-2 bunches flat leaf parsley
  • 6-8 cloves garlic 
  • 8 green olives, pitted
  • 2 tablespoons parmesan
  • Kosher salt
  • Black pepper
  • Crushed red pepper
  • Juice of 1/2 lemon
  • Olive oil

Use a food processor to blend the basil, parsley, garlic, green olives, parmesan, lemon juice and about 2 tablespoons of olive oil together. When the mixture starts to come together, give it a taste and add salt, pepper, and red pepper flakes to your liking.  Turn the food processor back on and add the olive oil slowly, until the mixture turns into a paste.  This recipe will yield more than you actually need, but the good news is, you have extra pesto!

Pound the beef tenderloin until the roast is an equal thickness.  Don't worry about getting it too thin; just try and achieve an even thickness across the entire roast.  Spread the pesto over the inside of the tenderloin.  Roll the tenderloin like a jelly roll (long ways) and tie it with butcher's twice every two inches.  I also rubbed the entire outside of the roast with pesto as well.  I'd love to say that this was an original thought, but a lot of my pesto oozed out of my tenderloin because I had made it too thin.  I didn't want the pesto to go to waste, so I rubbed every inch of the meat with the excess pesto.

To cook the tenderloin, you will need to setup your grill for both direct and indirect cooking. I used the Green Egg (of course) at 400 degrees direct for about 2 minutes a side to get a nice sear.  Then, I added the convEGGtor to get the indirect heat that I needed.  I cooked the tenderloin about 30 minutes, until the internal temperature reached 130 degrees.  I checked the tenderloin every 10 minutes to make sure I didn't overcook it. I turned the tenderloin each time I checked it.  

When the tenderloin reached the 130 degree mark, I took it off the Green Egg, covered it with foil, and let it sit for about 10 minutes.  After removing the butcher's twice, I cut the tenderloin into 2 inch pieces and served it with extra pesto on the side and potatoes roasted with herbs and shallots.

I served this with a great bottle of 2015 Martin Ray Tina Marie Pinot Noir.  I'd love to believe I inspired the name, but I think we all know better, right?


Food Therapy

For the last month, I've pretty much lived on pizza and take out.  I remember squeezing a day of ribs and a test brisket recipe in, but it has definitely some time since I really cooked.  This weekend, I was in desperate need of some food therapy.  My hands are raw from all of the dishes that I have washed, but my stomach is definitely full and happy!

From left to right: BBQ Beer Can Chicken, Leftover BBQ Chicken Nachos, Farm Eggs with Peppered Bacon and Strawberry Orange Juice, Smoked Pulled Pork Shoulder, Cherries Jubilee Ice Cream, Grilled Tomahawk Steak.

Saturday Night:  BBQ Beer Can Chicken

Saturday started with a beer can chicken recipe inspired by Malcom Reed. The chicken was incredibly moist and layered with a smoky, tangy flavor that comes from the combination of the butter, spice rub, cooking liquid, and BBQ sauce.  I feel like the most important step was the spritzing of the chicken every 20 minutes.  Don't skip this step; it is worth being tied to your kitchen timer while this bird cooks!

Ingredients:

  • 1 whole chicken, 3-4 pounds
  • Spice rub mix (see below)
  • 8 oz apple juice
  • 2 bottles of your favorite beer (I used Modelo Especial)
  • 1/2 stick unsalted butter, softened
  • Canola oil
  • Worcestershire sauce
  • BBQ sauce (pick your favorite, but I'll describe my "combo" below)

Special equipment:

  • Vertical roaster (you can substitute a beer can, just pour half for yourself and leave half for your chicken!)
  • Spray bottle

For the spice rub mix, mix two tablespoons each of light brown sugar, sweet paprika, dry mustard, garlic powder, and ancho chile powder.  Add one tablespoon each of kosher salt and ground black pepper and about 3/4 tablespoon of cayenne.  

For the BBQ sauce, I combined equal parts of Sweet Baby Ray's Honey BBQ sauce and Famous Dave's Rich and Sassy BBQ sauce.  I added a shot of bourbon and a half shot of water, then heated up the sauce over medium heat for about 30 minutes.  

Start by rubbing the softened butter underneath the skin of the breast.  Then rub a small amount of canola oil over the entire chicken.  Follow with the rub, both on the outside of the chicken and inside the cavity.  

Next, you need to prepare your vertical roaster.  Use a full bottle of beer, 4 oz of apple juice, and a about a tablespoon of the worcestershire sauce.  Create the same mixture in your spray bottle.

Place the chicken on the vertical roaster, then place the chicken on the grill over indirect heat and cook at 250 degrees for two hours.  Every 20 minutes, open the grill and spritz the chicken with the beer, apple juice, and worcestershire mixture.

At the end of the cooking time, the internal temperature of the breast should be 165 degrees and the internal temperature of the thigh should be 175 degrees.  This took me exactly two hours to achieve using the Green Egg with the plate setter.  Right before you reach temperature, baste the chicken with the BBQ sauce.  I actually basted this right at the two hour mark, let the chicken sit for 5 more minutes on the grill, then removed the chicken and let it rest for 10 minutes before serving. You can serve the BBQ sauce on the side, but I promise you that you won't need it. Between the rub, the "spritz," and the little bit of basting sauce, you will achieve an amazing BBQ flavor without all of that sticky sauce.

Sunday Night: Smoked Pulled Pork and Cherries Jubilee Ice Cream

I used Malcolm Reed's Smoked Pork Butt for Pulled Pork recipe on his HowtoBBQRight website.  I used an 8 pound pork shoulder, coated the pork with just under two tablespoons of dijon mustard (because that is all I have left), then covered the pork in Reed's The AP Rub before using The BBQ Rub.  I used the Green Egg with the plate setter, added a few apple wood chips, and maintained a constant temperature of 250 degrees for the entire cook time.  Before placing the pork in aluminum foil, I spritzed the pork every 40 minutes with the left over beer, apple juice, and worcestershire sauce mixture that I made the day before.  

I followed Reed's advice about only shredding enough meet for a single meal.  I served this Sunday as is; no BBQ sauce.  The meat was super tender and had a robust, smoky BBQ flavor.  I'm planning on doing BBQ pork sliders later in the week and then probably pork nachos. If you are lucky, you might see a tupperware container of pork appear on your desk or at your front door later this week.  Eight pounds of pork is a lot of pork!

For the cherries jubilee ice cream, I used my standard ice cream recipe (see my previous posts), then, brought two cups of chopped, fresh, organic cherries, two tablespoons of sugar, and about a half shot of shot of brandy to a strong simmer.  Once the mixture cools, add it to the ice cream base before putting it into the refrigerator to chill.  

Monday Afternoon:  Leftover BBQ Chicken Nachos

This one is easy!  Just tear apart your leftover chicken (remove the skin) and toss it on top of your favorite nacho chips and add some queso cheese.  Bake the nachos for about 7 minutes in a 400 degree oven.  When the nachos come out, add some chopped green onions and any other of your favorite toppings.

My new favorite nacho chips are the Standard Market brand chips.  I won't call them "home made" but whatever they do to them is perfect; just enough salt and oil and a nice crunch! My go to queso is still Tostitos Medium Salsa Con Queso and I used 3/4 of a large jar.  I love cheese, so what can I say?

Monday Night:  Grilled Tomahawk Steak

I'm giving Malcolm Reed full credit for this one too.  I bought a great tomahawk steak from Sages Meat Market and followed Reed's Reverse Seared Tomahawk Ribeye recipe.  I used the Green Egg for the entire cook time, first with the plate setter and a temperature of 250 degrees.  When the steak came up to 115 degrees internal temperature, I took the steak and the plate setter off, then let the Green Egg come up to 600 degrees and seared the steak for two minutes each side.  Let the steak rest about 7 minutes before digging in!

Tuesday Morning: Scrambled Eggs with Peppered Bacon and Strawberry Orange Juice

You are on your own with this one, but do yourself a favor and give Rustic Road Farm in Elburn a try.  You can't beat the fresh eggs and veggies there.  Plus, their pork is delicious!  Try the cottage bacon and use The Bacon Method to cook it.  This bacon is my favorite!

Tuesday Night:  Keeping it Simple...kind of

I'm grilling up some Limoncello Chicken Wings and Italian sausage for dinner tonight while my husband finishes up a batch of gravy (red sauce to the American readers out there)! Also decided to mix up a batch of peach raspberry ice cream for later this week.  I told you I needed some food therapy!

Happy Fourth of July!